I made two drawings this week — yes, just two... too much to do this week, haha ): — but both really cool and with great tips for you ;)
In the previous post, I commented on some drawing apps that I found. They are apps with 3D models where you can edit position and lighting and are great for training anatomy. I know how sometimes we have a specific idea and how difficult it is to find a reference image that perfectly captures that idea. I tested one of those apps that I found, Magic Poser, and I thought it was very good. In addition to having male and female 3D models, you can also change the position of each finger of the mannequin. In addition, you have the possibility of using several mannequins in the composition. The app also has a tab where several people post their compositions and you can also use them.
The full version of the app costs R$ 15.99 at Google Play. The basic version is free (both for Android and for iOS).
A video of the app's features:
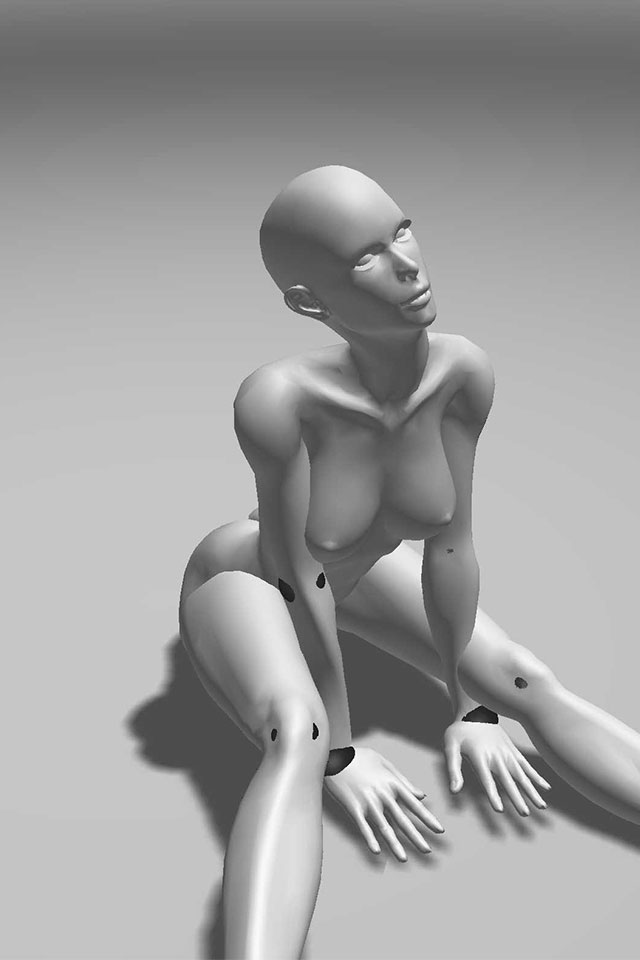
That was one of the compositions that I thought was cool and I decided to create something based on it.
More basically that part.
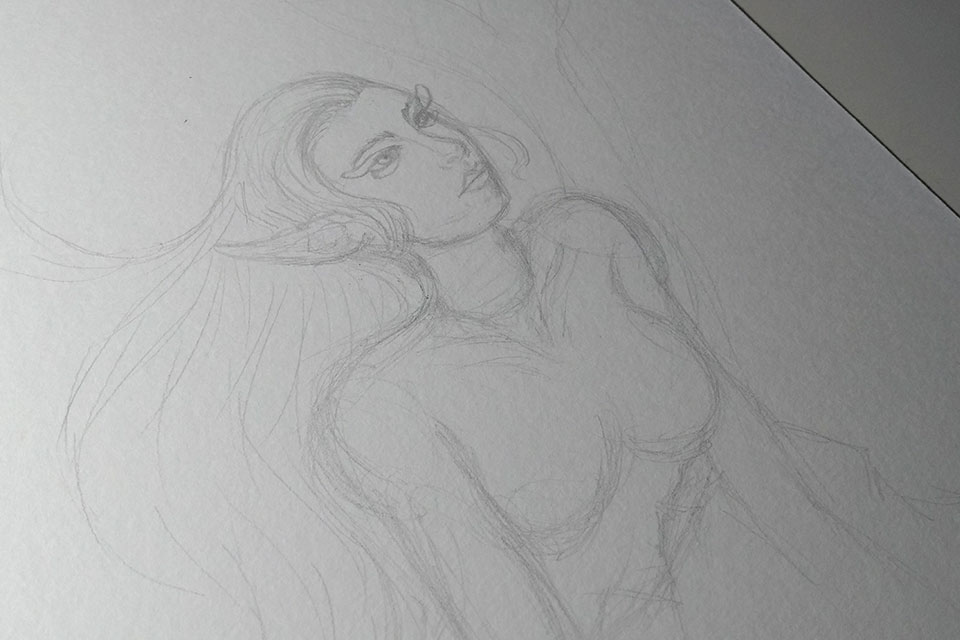
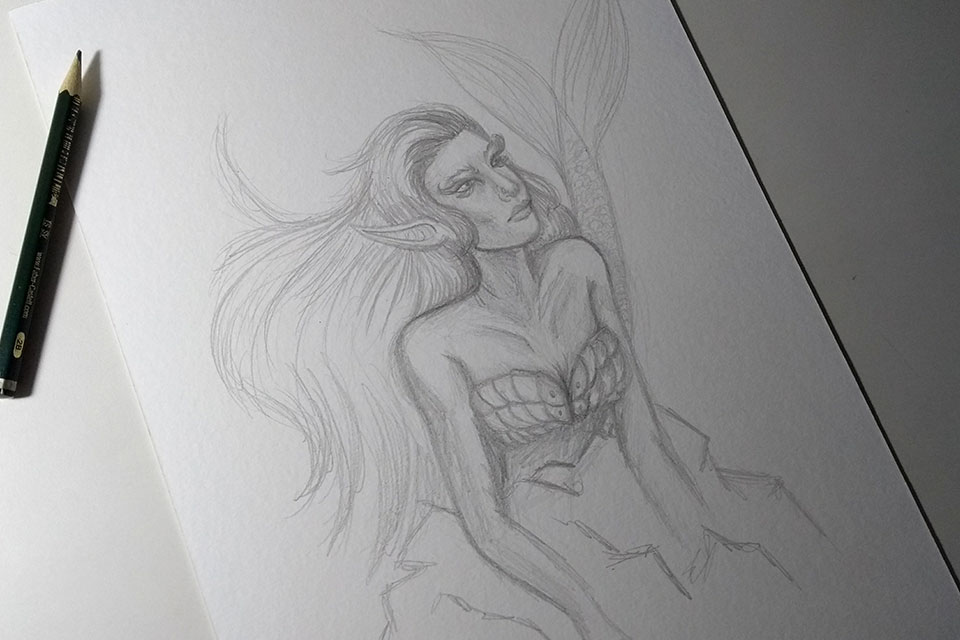
Here is the beginning of the sketch based on the reference. I didn't end up taking a more detailed picture of the process, but I generally look at the image as a whole and try to move to paper in more basic shapes — circles, squares, etc. Always think of the image as simple shapes, this helps to have an overview of the whole, adjust the anatomy... before detailing.
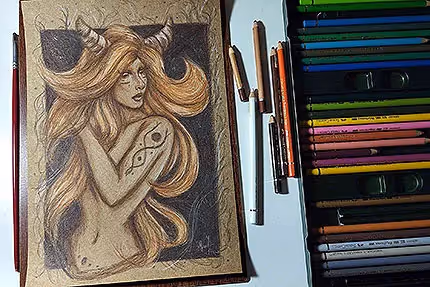
Based on that pose, I decided to make a mermaid on top of a rock. The details were generally without reference - but that's because I had drawn mermaids before, but you can, of course, use multiple references for a single drawing - the reference was used only for the character's pose.
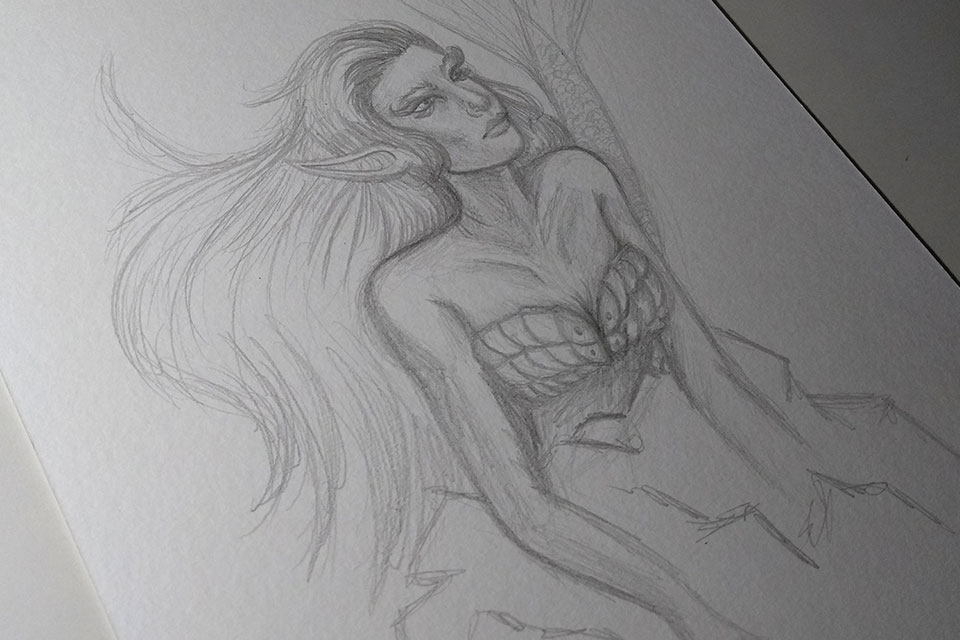
I didn't do an extremely detailed sketch, not least because it was more for training, but I also took advantage of the use of lighting in the app as a reference.
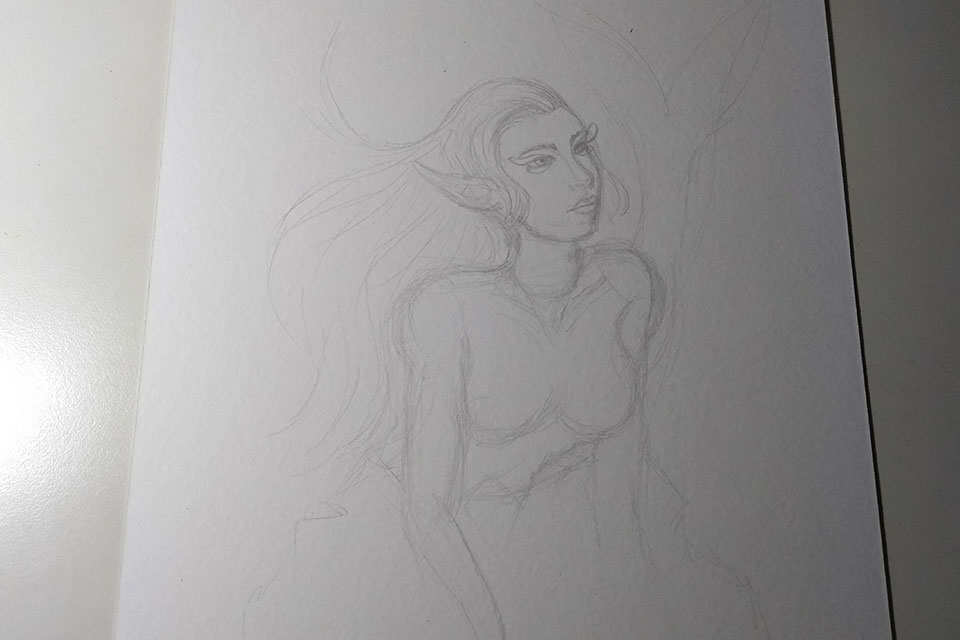
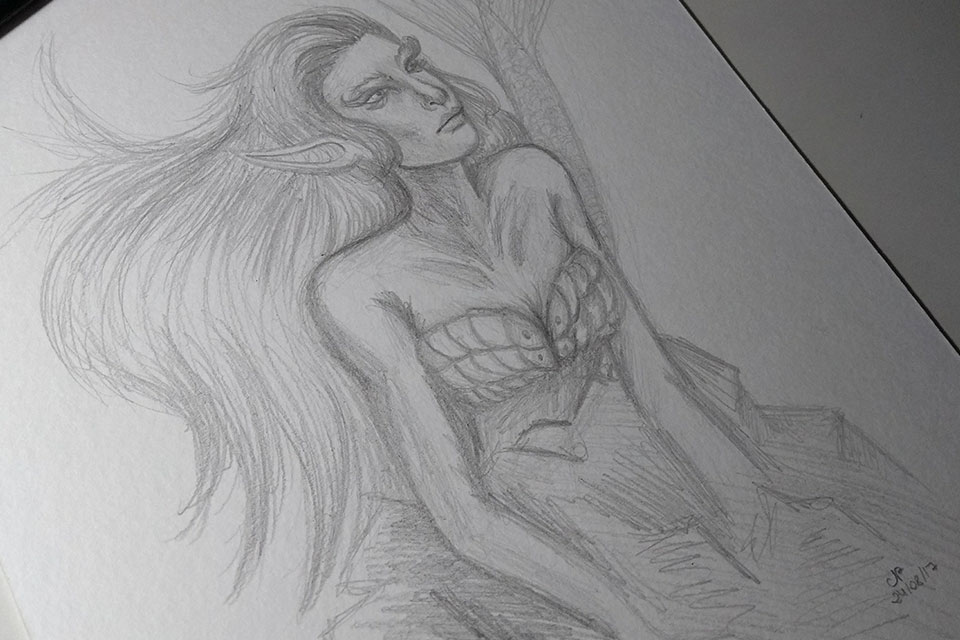
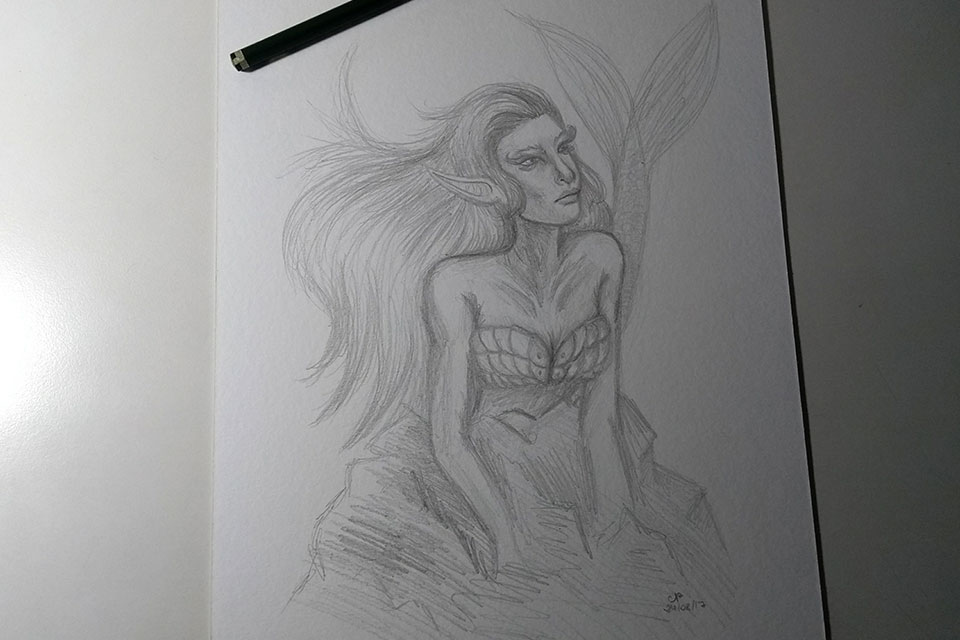
The finished sketch:)
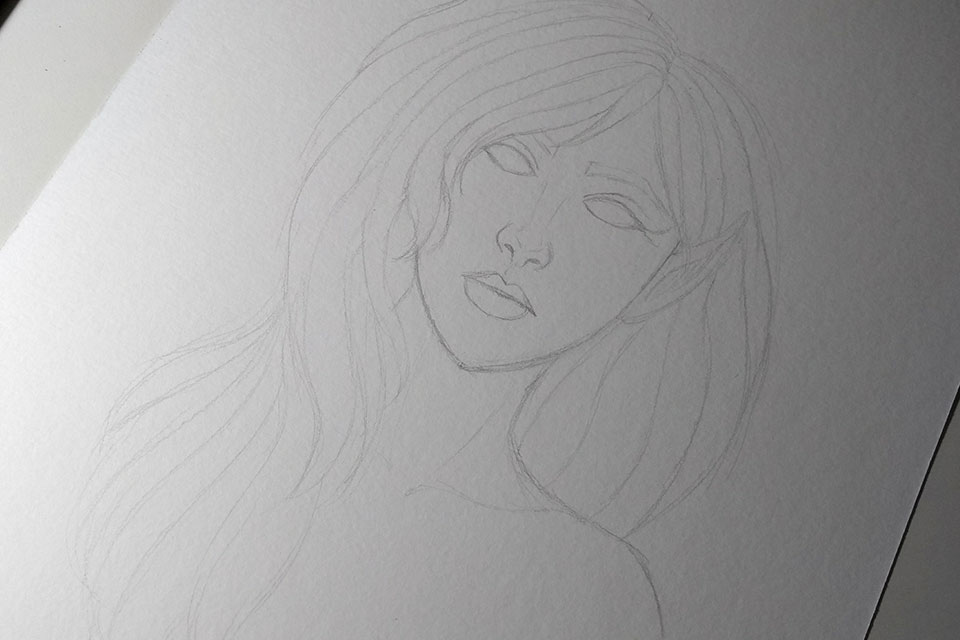
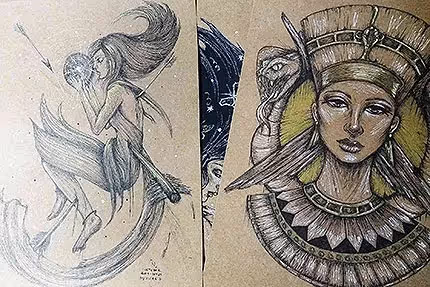
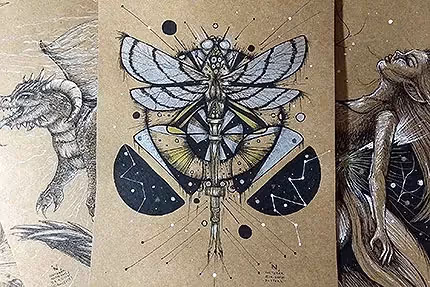
In this other sketch, I decided to do something without reference and take advantage of some of the inspiration I had when seeing exhibitions with my boyfriend on Friday, hahaha.
PS: We went to Lasar Segall Museum see the exhibition Works on Paper and there was also another exhibition at Japan House, Subtle (Subtlety), where several artists presented their views on paper itself. Very good. I highly recommend going to exhibitions, too. It helps to improve your visual repertoire, in addition to being great for inspiration, of course.
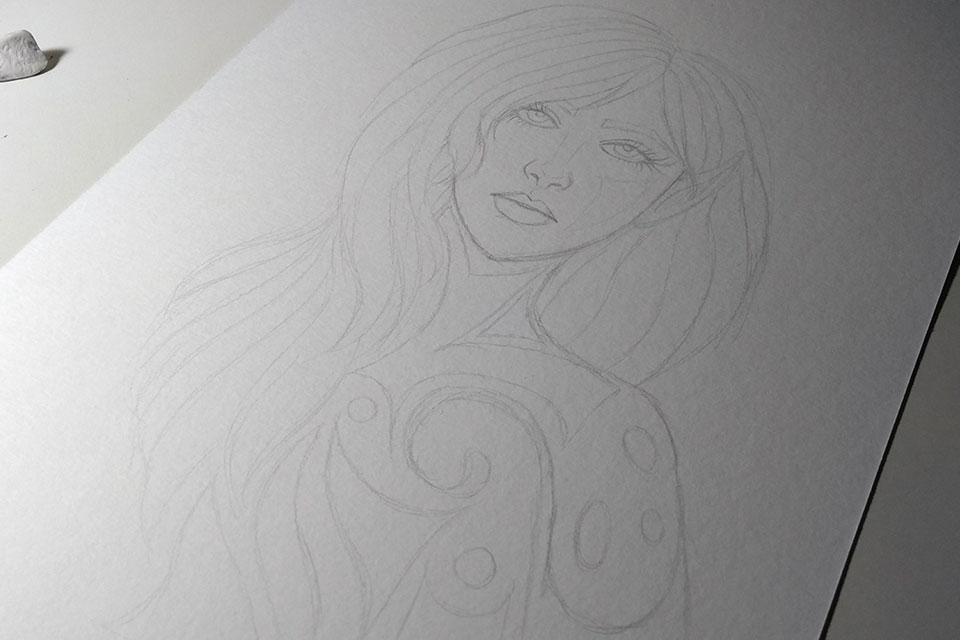
Once I have the idea formed - and I know that I will use ink, colored pencils, etc. - I leave the sketch as clean as possible, with smooth lines, which is precisely to prevent it from blurring later when applying the colors. This works for watercolor too, graphite tends to blur when you use water, so leave the sketch with as smooth lines as possible.
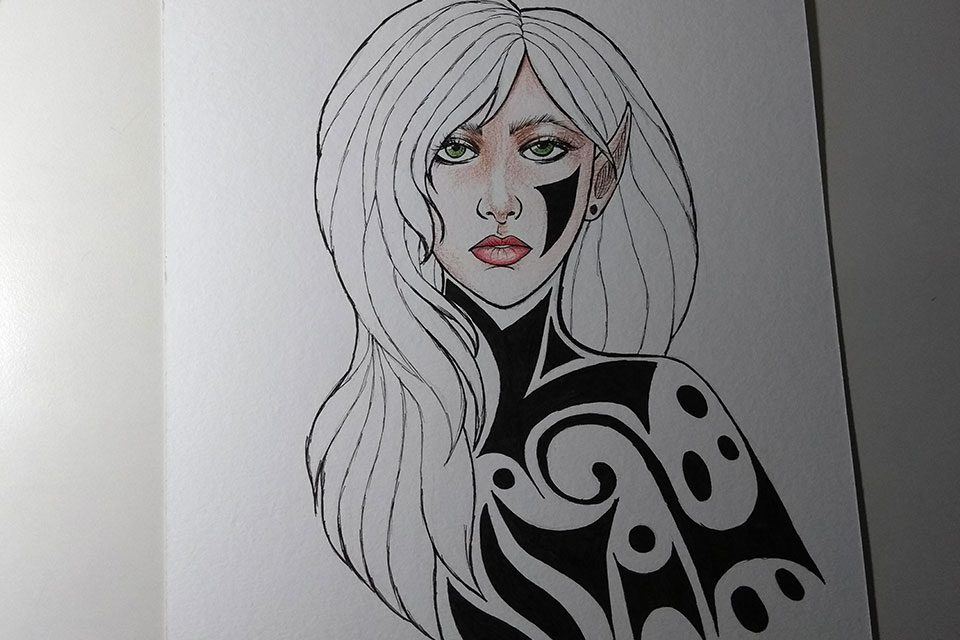
Here, the finished sketch itself, with the idea already prepared.
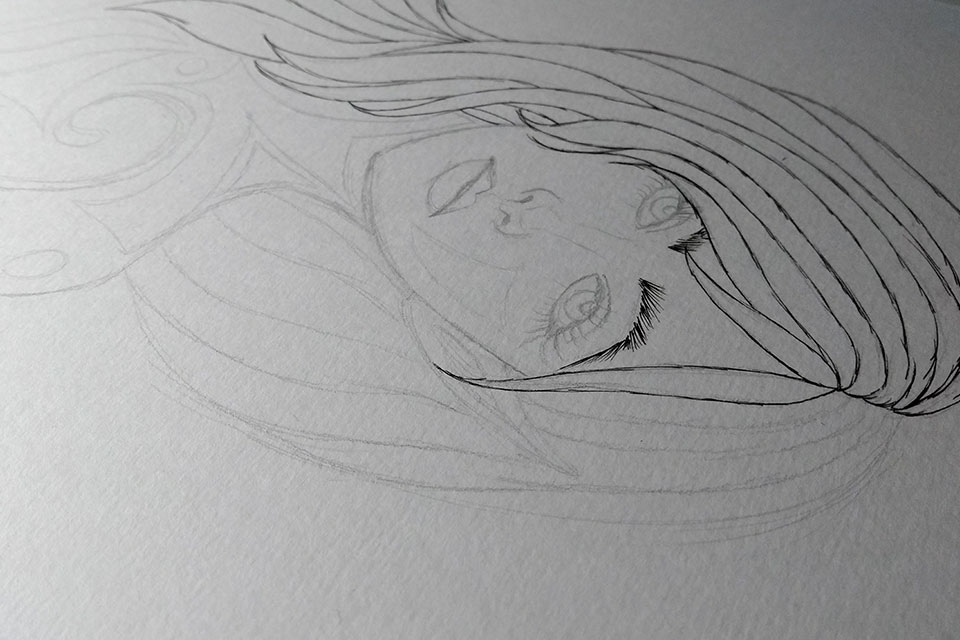
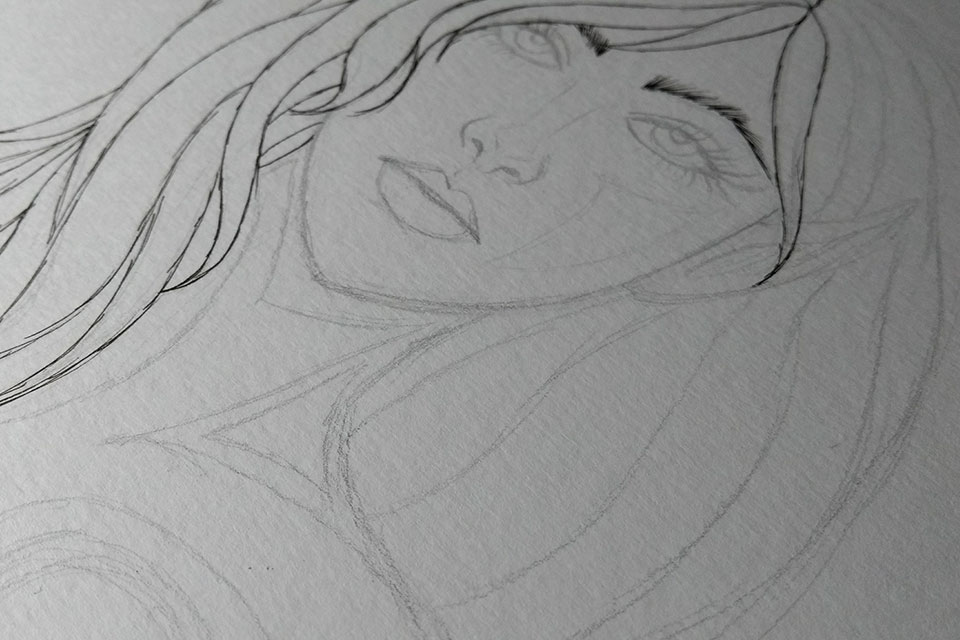
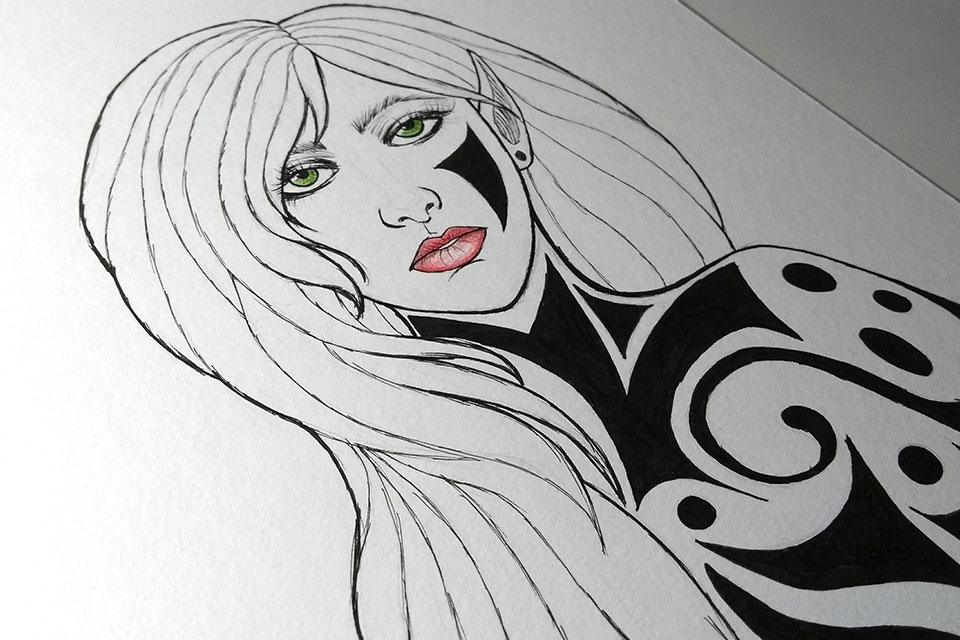
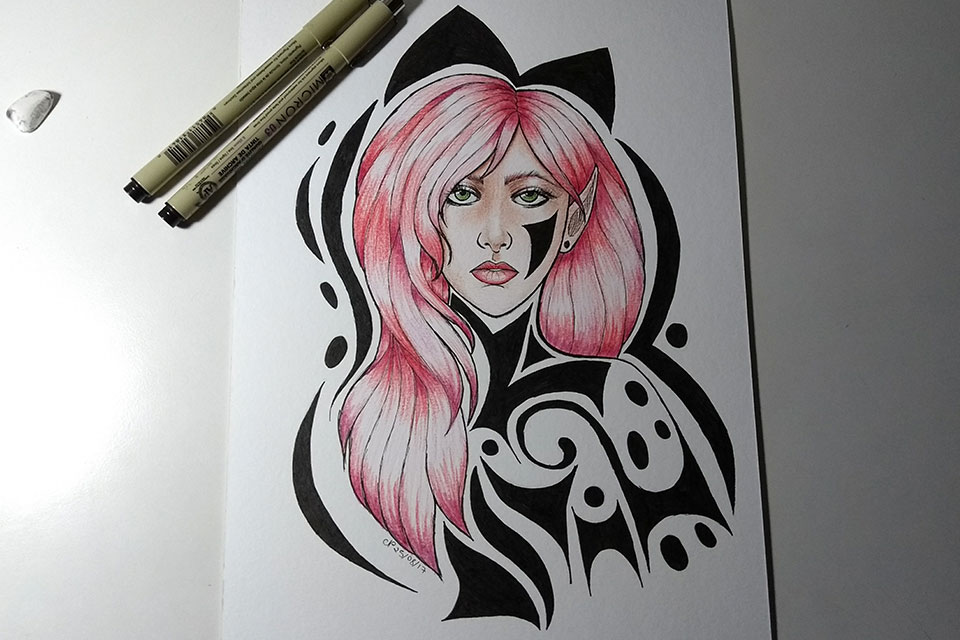
Bypassing in Nanking. I like Sakura's pens, Pigma Micron. In this drawing I used 03 for thicker lines and 005 for thinner lines.
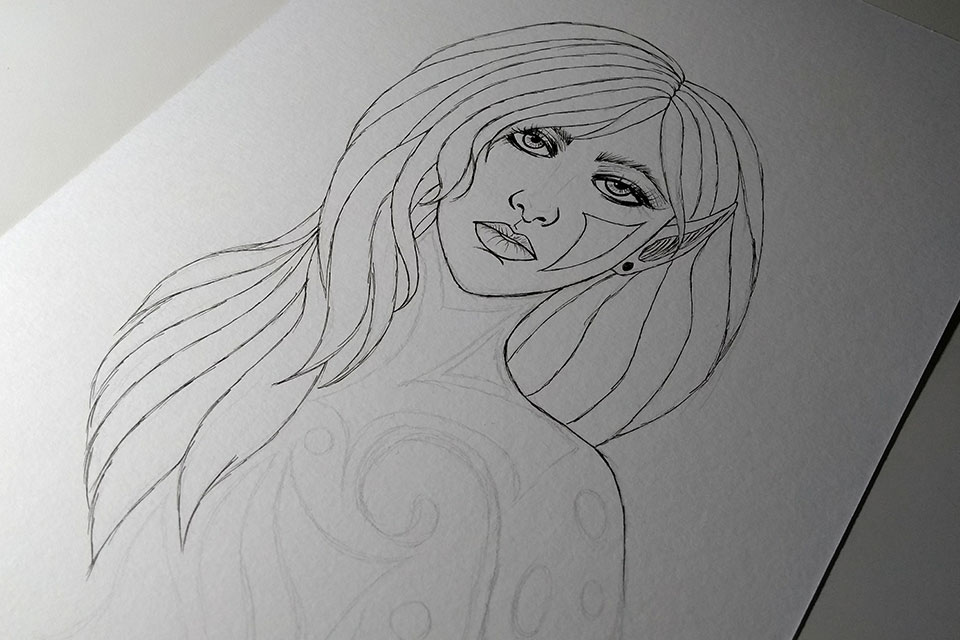
At first, I was thinking of doing the details and shading with pencils in ink, but I decided to paint with colored pencils, haha :)
I used green pencils on the eyes, leaving a blank area to create a glow effect. For the skin, I usually use pink for light areas and brown for darker areas to create shading. I leave some areas blank to create a lighting effect on the skin as well.
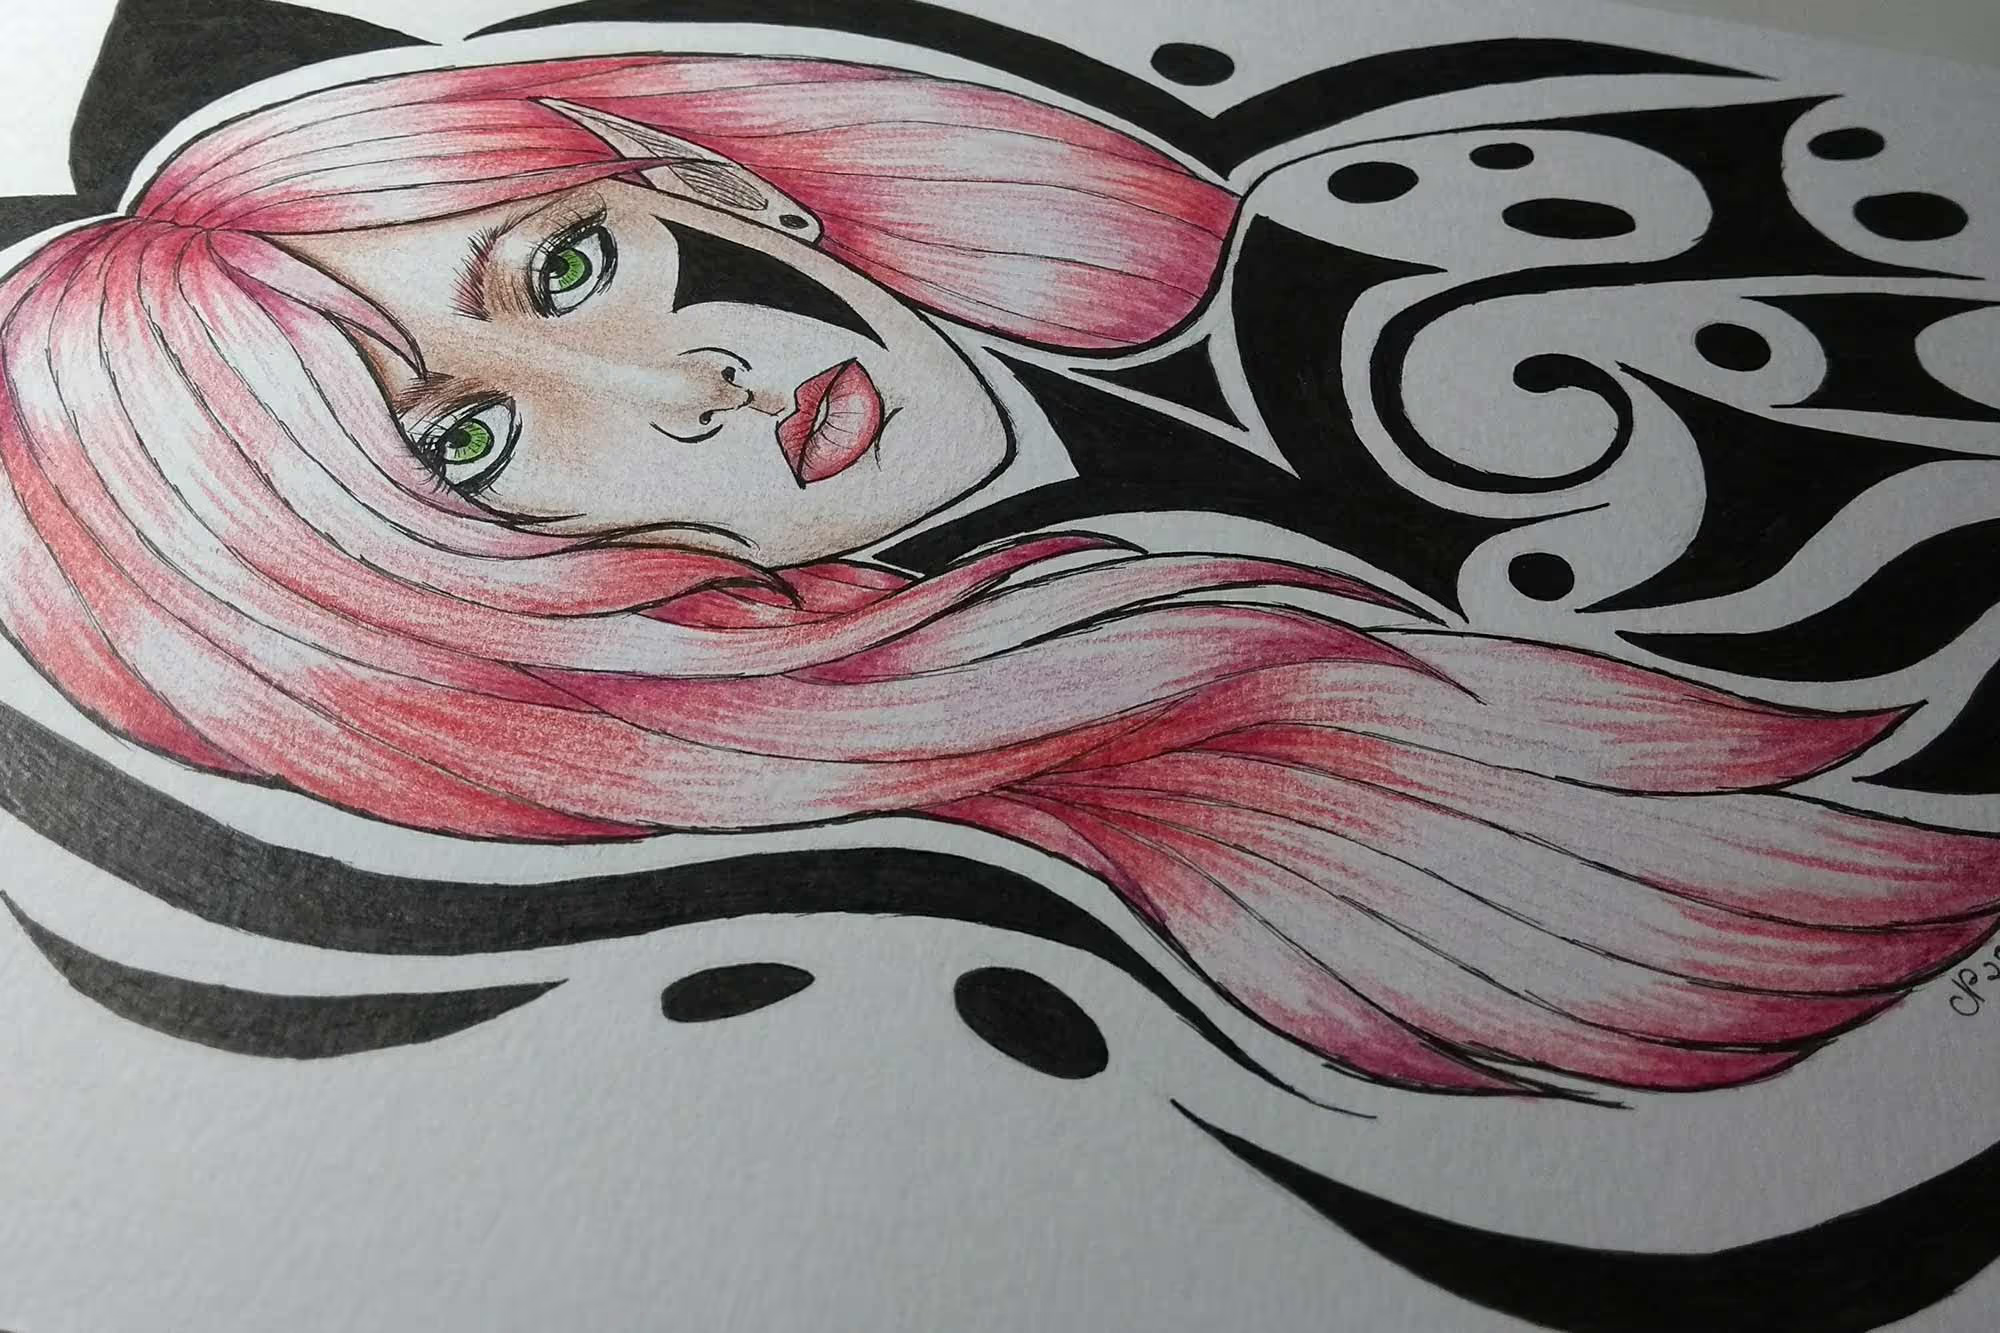
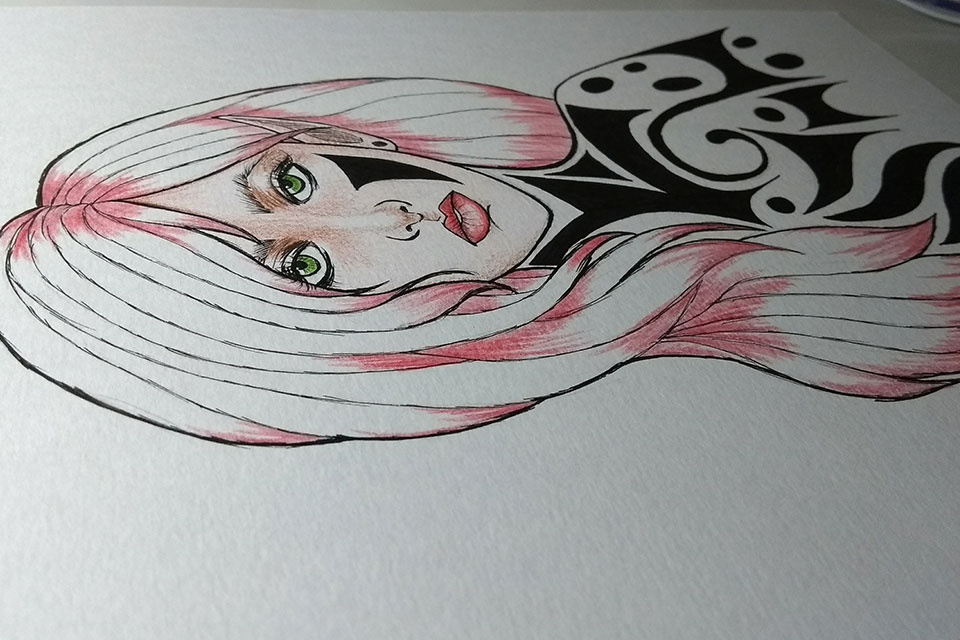
I marked the areas of the hair where I would leave it darker later, to give that shine effect that I usually do. I used red for the lighter parts and a reddish purple for the areas that I later darkened. The much lighter areas, almost white, are the areas I don't paint to create the effect.
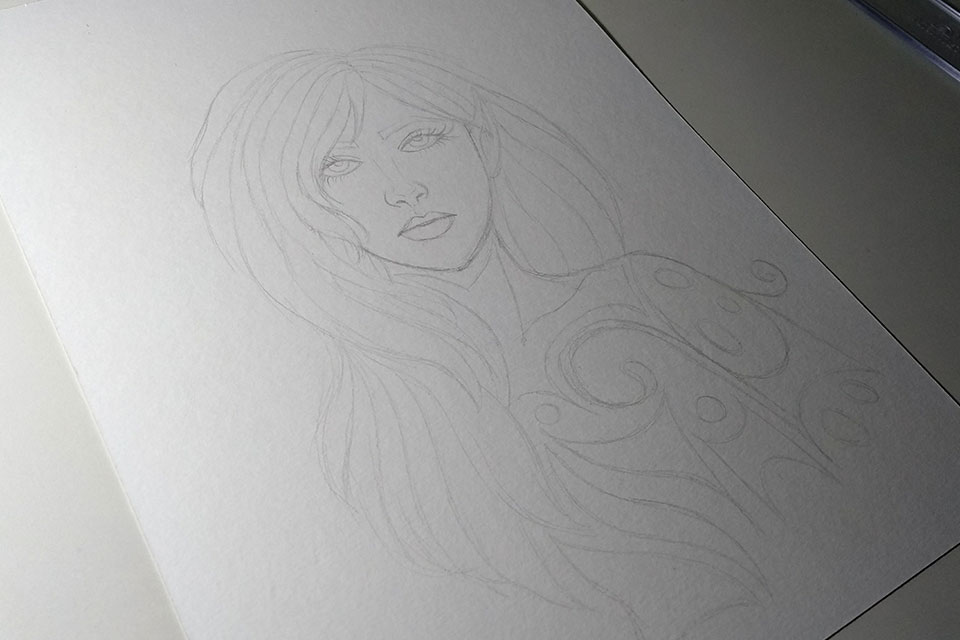
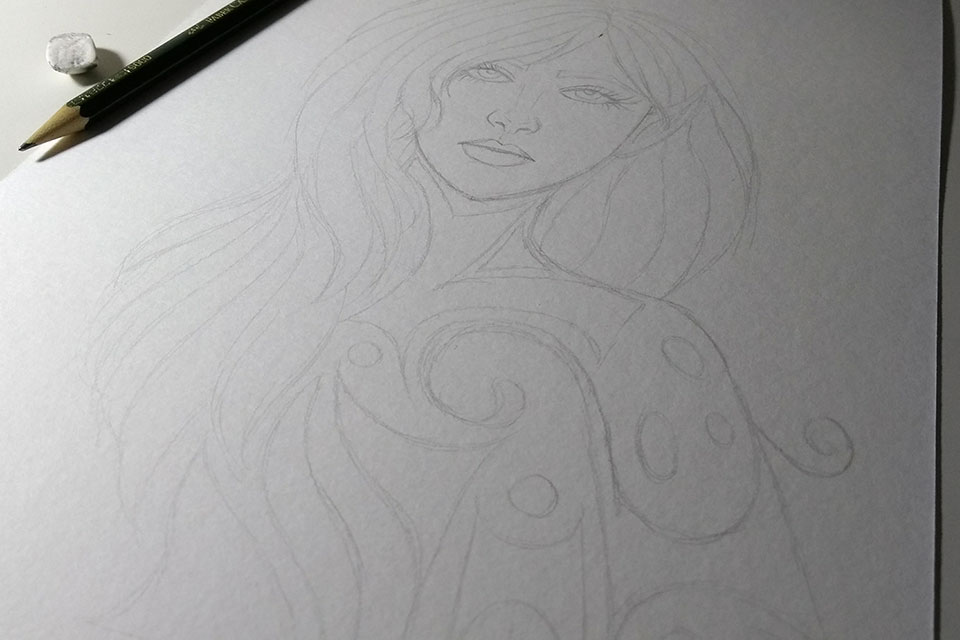
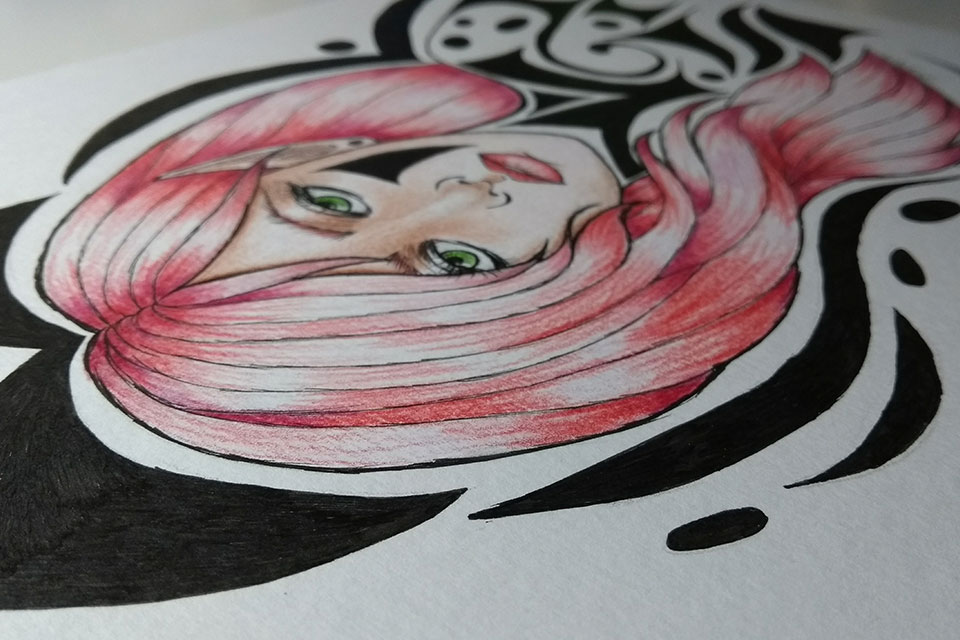
Then I also decided to create some more ornaments around the drawing to finish.
Finished drawing.
That's it for today! There will be more next week! I also intend to create more sketches based on the app's poses to continue testing, hehe.