Aug 25, 2015

At the suggestion of a friend, I decided to talk about a very relevant topic for those who want to embark on the world of design: materials. Where to start and what to buy (sketchbooks, types of paper, pens, pencils, etc.) for those who want to train, mainly, drawings with pencils, ink and watercolor painting.
Many tend to think that the quality of the material will make a difference in the final result and this is not the case. What makes the difference is training, investing time to draw - studying references through photos, training the eyes to observe details or maybe even, for those who can, take a course, although nowadays the amount of information and study that we can obtain through the internet is exponential and can also be essential to provide that Yaw initial.
The dream may be for the long term, but the investment in experience is for now.
There's nothing wrong with wanting to buy the most expensive materials you can find, but trust me, it's not worth overspending without first gaining experience, as it will guide you to an incredible long-term result. I myself have faced a few moments with that gigantic desire to buy, for example, a case of Faber Castell with incredible pastel pencils (because they have better pigmentation), but it's not worth buying it right now if I can use a simple and cheap case from the same brand - although they are not pastels - the kind you can find in any bookstore or stationery store (or rather, I could find it, since coloring books are now in fashion, haha). Or maybe a pastel chalk case that's cheap too! I have already obtained many good results and I am sure that regardless of which one I bought, the result would be the same, as I need to gain more experience. Today, after a few years of designing, I would even risk it, but the price of such a case ranges from R$ 300.00 to R$ 700.00 or more. Well, it is. It's expensive because it's a professional line. The wallet shakes.
For those who want to get started, I highly recommend that you train — and a lot! — light and shadow. When I started, I spent days and days (years, actually) training observation using photos as a reference. You can try copying the photo to train the light and shadow values, or you can also use it only as a base to create a drawing, exploring your own concept. You need to be very patient, because it is not overnight that you will become a professional draftsman. You have to train non-stop! Really!
Let's now go to a basic list of things you'll need, depending on what you want to train. I sincerely recommend that you start drawing with pencils, but it goes from the process of each one. It worked well for me to start with a pencil and then explore other styles. There are numerous videos and online courses that can help you better understand the process. In this post, however, I will only give you tips so that you can have some material to start your journey through the world of drawing.
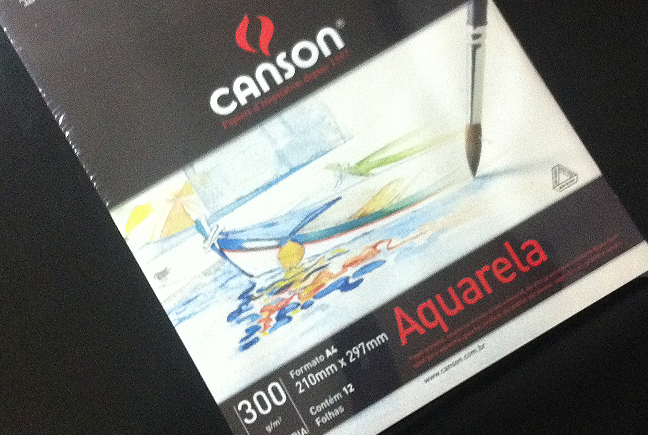
I love using brand blocks Canson, both out of custom — I've always used it since I was a child at school — and because of the price. I recommend that you use 200 g/m² blocks (it may be smaller too, depending on your preference) for pencil drawings and 300 g/m² blocks for watercolor. The larger the grammage, the thicker and firmer the paper. The papers Canson comes with a textured side and a smooth side - that's what you need. It's up to you to choose which side of the paper works best for your art. It's also cool to go to a stationery store and feel the paper, understand the difference between the surfaces. Remember that, regardless of the type of paper, you can start drawing now with any pencil and a simple sulfite or notebook. The important thing at the beginning is to explore and identify what material is best for you. A block Canson A4 of 300 g/m², for example, costs around R$ 18.00; the A3 costs around R$ 35.00. The 200 g/m² ones are between R$ 14.00 (A4) and R$ 25.00 (A3).
If you're interested, it's cool to have a sketchbook to take with you anywhere and train at any time. I love the brand's sketchbooks Moleskine, however, are expensive — from R$ 80 upwards. I really like it because of the weight of the paper. Their sketchbook line is of excellent quality and is suitable for both pencil and ink and watercolor drawings (and other styles as well). However, I recommend for those who are starting to buy a cheaper one, such as sketchbooks from Cicero. They cost around R$ 30.00 and are reasonable, although the paper weight is 80 g/m². I have suffered a few times when deleting a drawing, because the paper sometimes crumples... it's something that bothered me a lot, but it's a freshness of mine, hahaha. Incidentally, aCanson It also manufactures a line of sketchbooks with affordable prices!
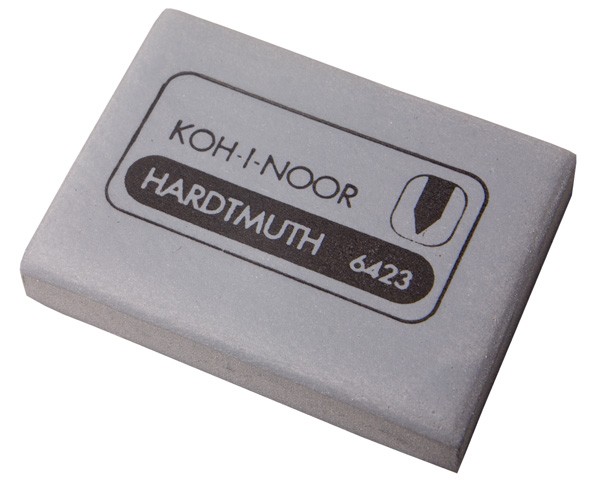
In the beginning, I started with an HB, 2B, and 6B pencil. Today I also use an 8B to create even darker shadows than the 6B. I like to use HB or 2B to create the sketch (the base, draft of the drawing) and then improve the details and shadows using 2B, 6B and 8B. I like those of Faber Castell or Koh-I-Noor. Prices generally range from R$ 5.00 to R$ 10.00 each. I like to use the faux fur, too, to give uniformity and finish to my designs, but I recommend using it with caution and when you feel more prepared. They come in sizes from 1 to 9 and cost around R$ 4.00. Don't forget to buy a type cleaner - it is a superior rubber than the common ones you find out there, it is flexible and absorbs graphite better to erase, especially, traces made with stronger pencils such as 6B.

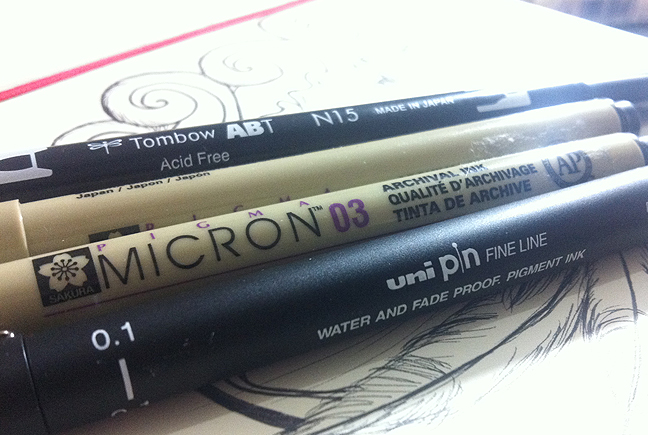
Sometimes I struggle to get the pens I want, because where I live it's hard to find stores that have them, so I end up choosing to buy online (at Artist's House, generally). The other day I was looking for one Micron 0.05 (which is very thin and perfect for creating shadow hatches in ink drawings) and nothing. I was even lucky to find 0.1, 0.2, and 0.3 both of Micron How much of UniPIN, because I wanted to test and see which ones would be best for me. Each pen costs around R$ 18.00 more or less. I really liked the Microns, But the UniPIN It doesn't leave anything to be desired either. For thicker strokes, I recommend taking a 0.5 and 0.8 also from one of these brands. For 0.5, when I started, I used the Stabilo. It's not bad, but it's usually Delete the role on the other side, so I don't recommend it.
Some people like to work with markers too, they're really cool. I remember that at the beginning of the course I took, we learned to work with grey-tone markers to better understand the values of light and shadow. At the time, the teacher had recommended the brand to us Magic Color. I bought one at the time case that came with 6 shades of gray (3 hot gray and 3 cold gray) and the price was reasonable — around R$ 20.00 a case, and they have other cases with various colors.
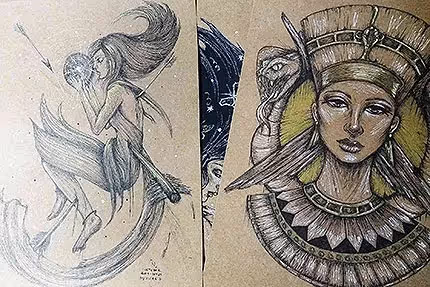
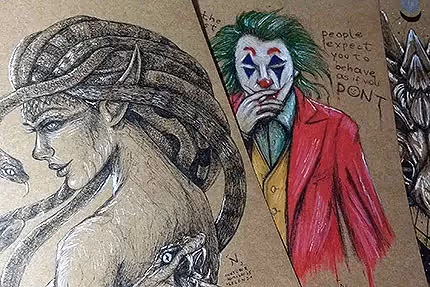
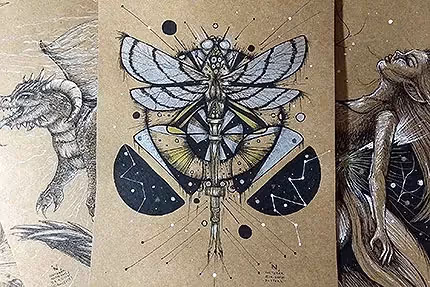
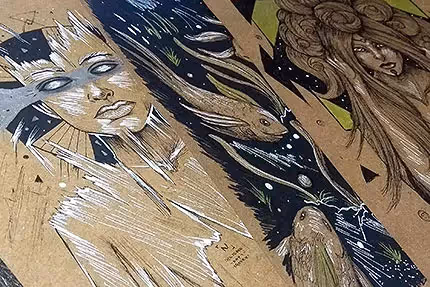
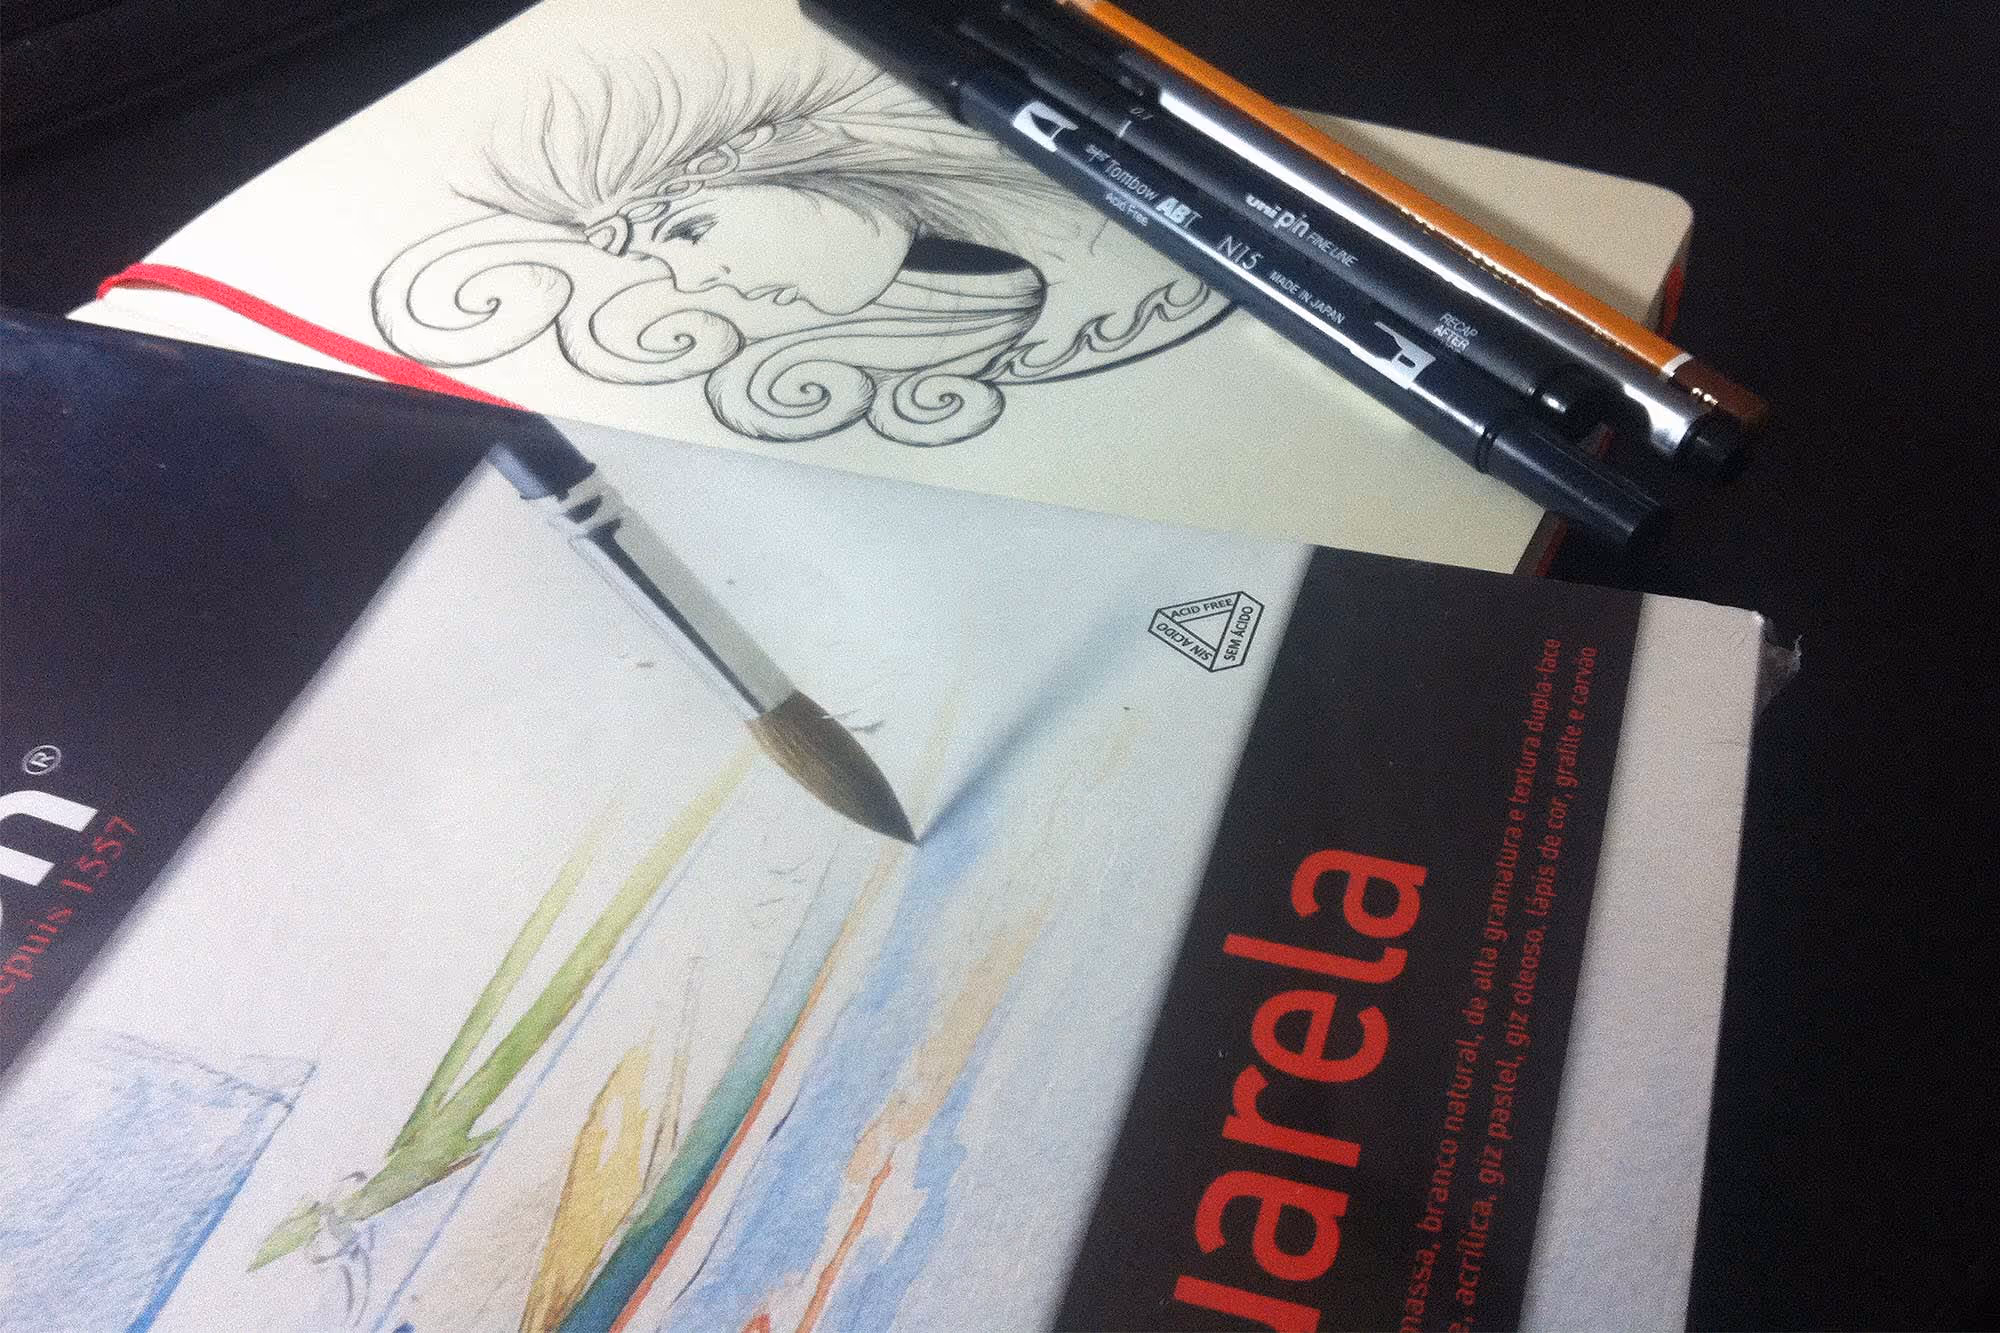
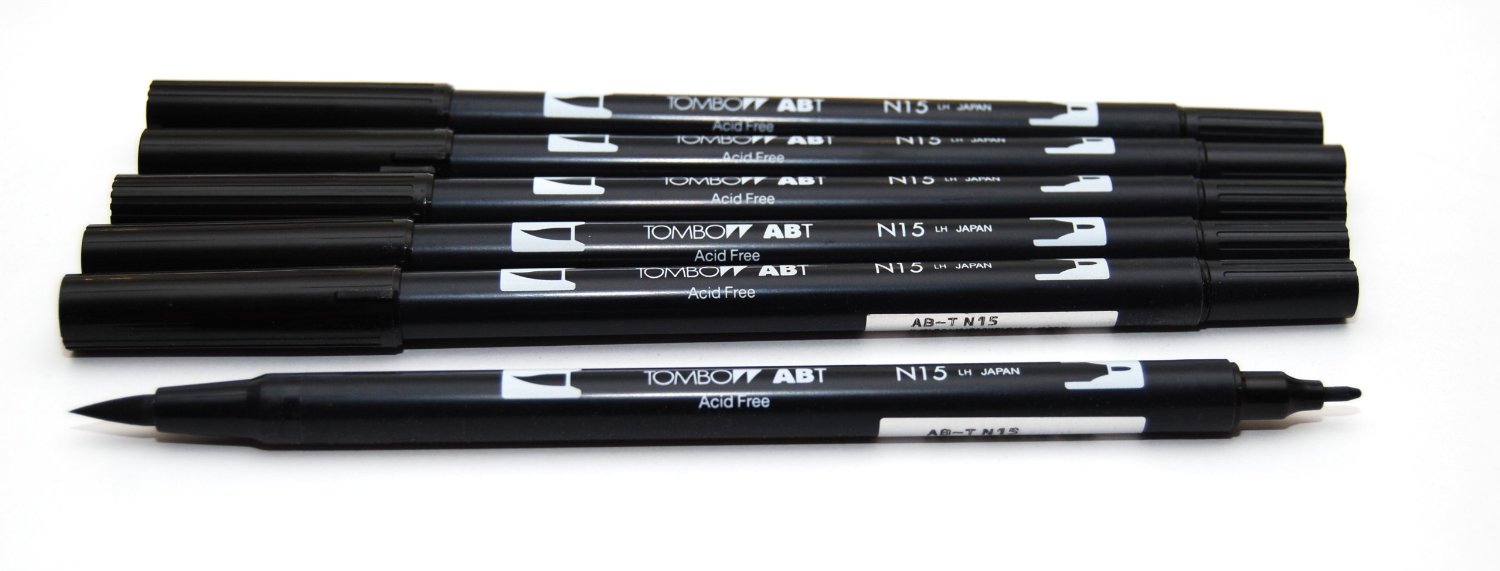
I am simply in love with the brand's pens Tombow. The ones I have (which you can see in the photos above) are from a line that is Dual Brush (ABT). They are two tips: one is a brush and the other is a marker. They are great for those who want to venture into Brush Lettering too. They cost around R$ 20.00 each. It is sold in many other colors besides black. Despite the Tombowbeing much more expensive, has the advantage of the brush. If I'm not mistaken, however, they are not sold in cases, just separately.
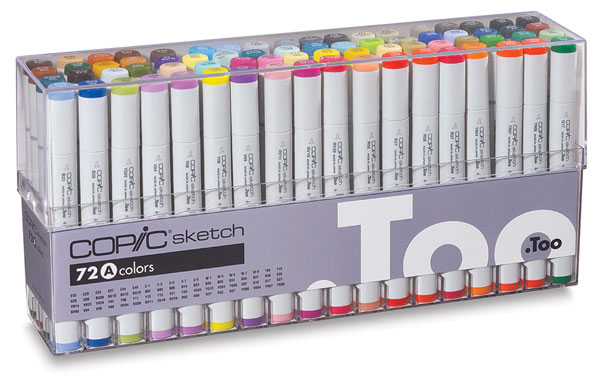
Others are very fond of pens Copic. They have several interesting lines. I've never used it in particular, but I'm interested because they seem to be good. Here's the tip for those who want to test.
For those who want to embark on the world of watercolor and, like me, are still in the early stages, I recommend having at least 3 brushes: a thin one, a medium one and a large one. I currently use 2, although I have about 4 or 6 different ones here to test (hahaha). My favorite is Koi (Sakura) — prices range from R$ 20.00 to R$ 22.00 each depending on the size you are going to buy. They say that the brushes of Wen they are very good too, I haven't used them yet. Na Artist's House there are several cool and interesting brushes. You can check it by clicking hereto. I recommend using rounded brushes because they are easier to handle. The other brush that I usually use is from the Tigre brand's artistic line, which, in fact, is also very good.

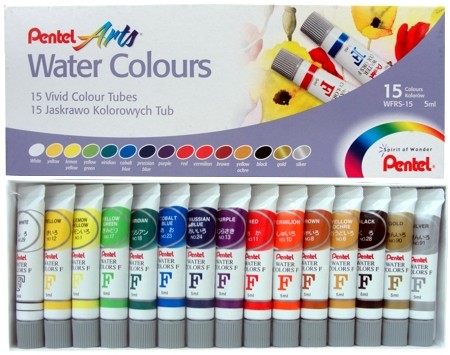
As for the watercolor itself, I have a case with several colors in tablets from the brand Van Gogh. They're good, but I bought it a long time ago and I don't remember the exact price, but it wasn't very cheap, hahaha (I think it was around R$ 100.00!). I recommend looking for watercolors in tubes, I think it's cheaper. The brand Pentel There are tube cases with 12 to 24 colors for prices ranging from R$ 42.00 to R$ 90.00. You can also choose to buy the tubes separately. I recommend buying one Godet also to be able to mix colors. They are generally cheap.
I hope that with these tips you can start playing now!