May 6, 2018

I turned 29 this week, May 1st, yay! I got shrimp from my boyfriend and stuffed myself, wow, hahaha. ~ I love shrimp ~
Other than that, I took the opportunity to give myself the app as a gift Procreate. You have no idea how AWESOME this app is! There are mega-advanced tools that are ideal for those who work with art - I say this because when I used to do digital art in Photoshop in the past, they were tools that I used a lot and that I always thought would be great if they were in an iPad app. The drawing apps on the iPad, at least the ones I usual/used to use, were/are very limited... Procreate goes beyond what I could imagine. It is, without a doubt, a Must Have for any artist.
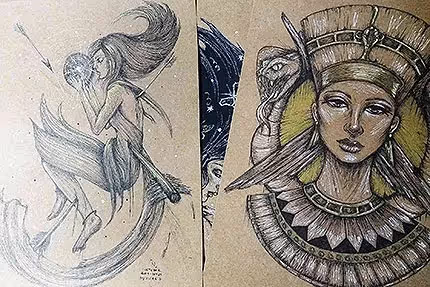
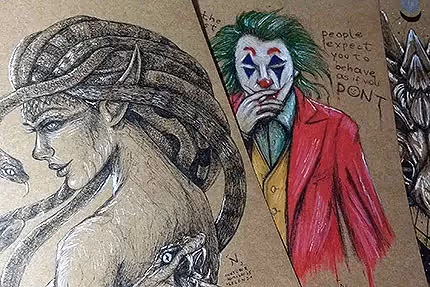
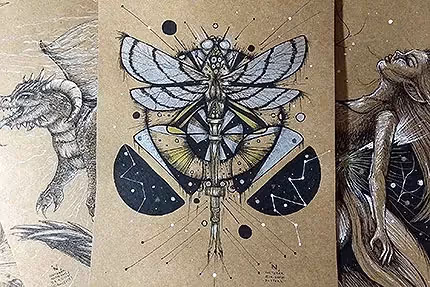
Well, let's get to the drawings then! You'll see that some of them I haven't finished because I'm still exploring the app. It's a lot of cool stuff and I want to be able to explore as much as possible to make sensational art:)
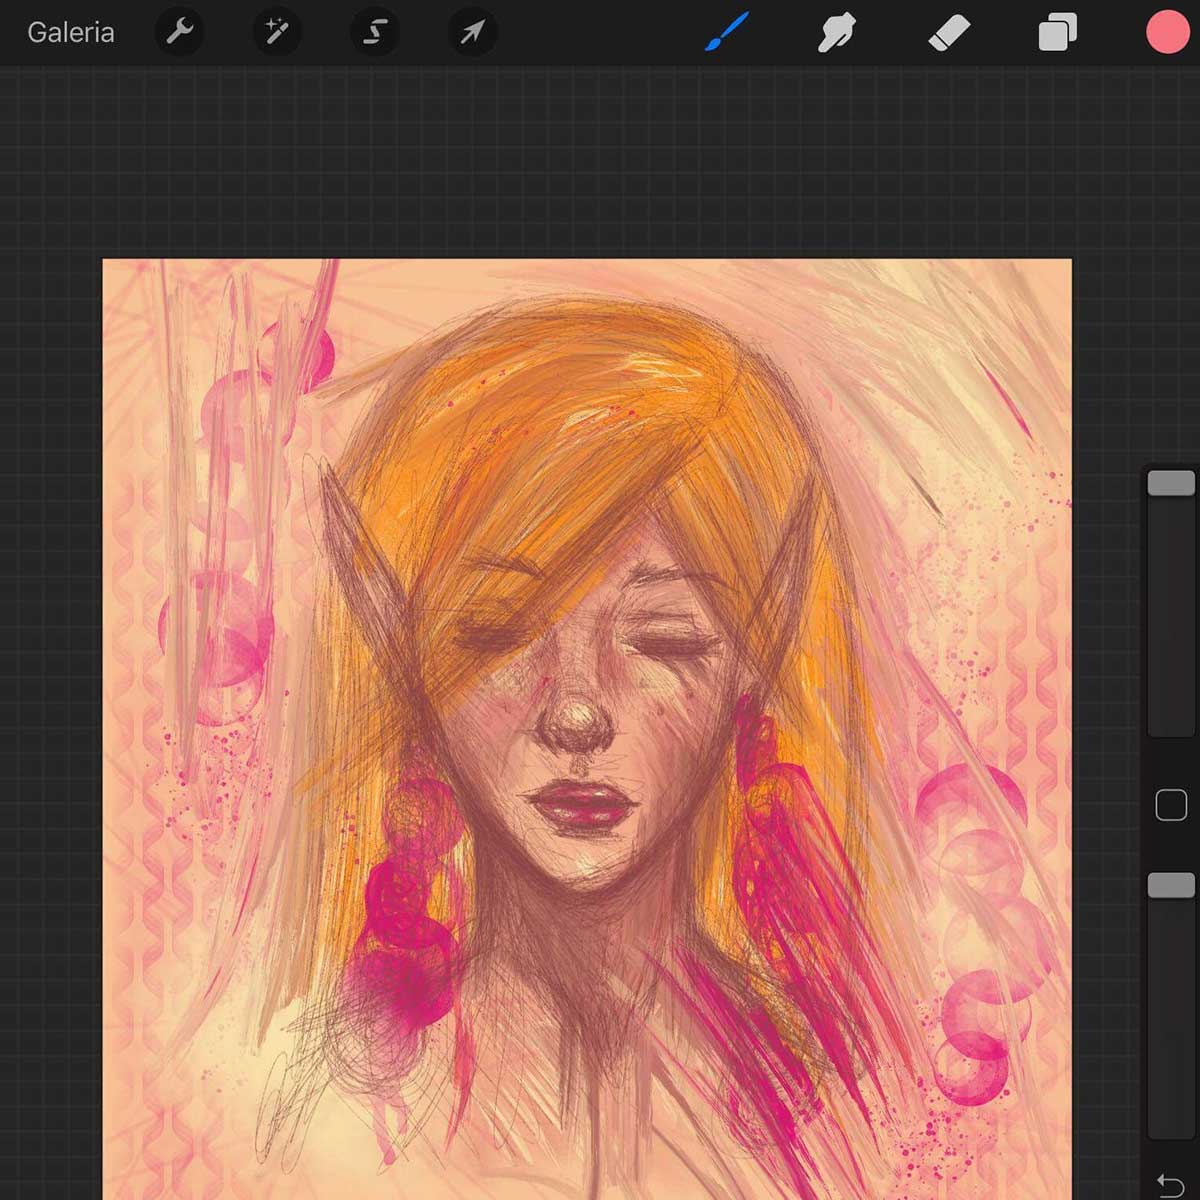
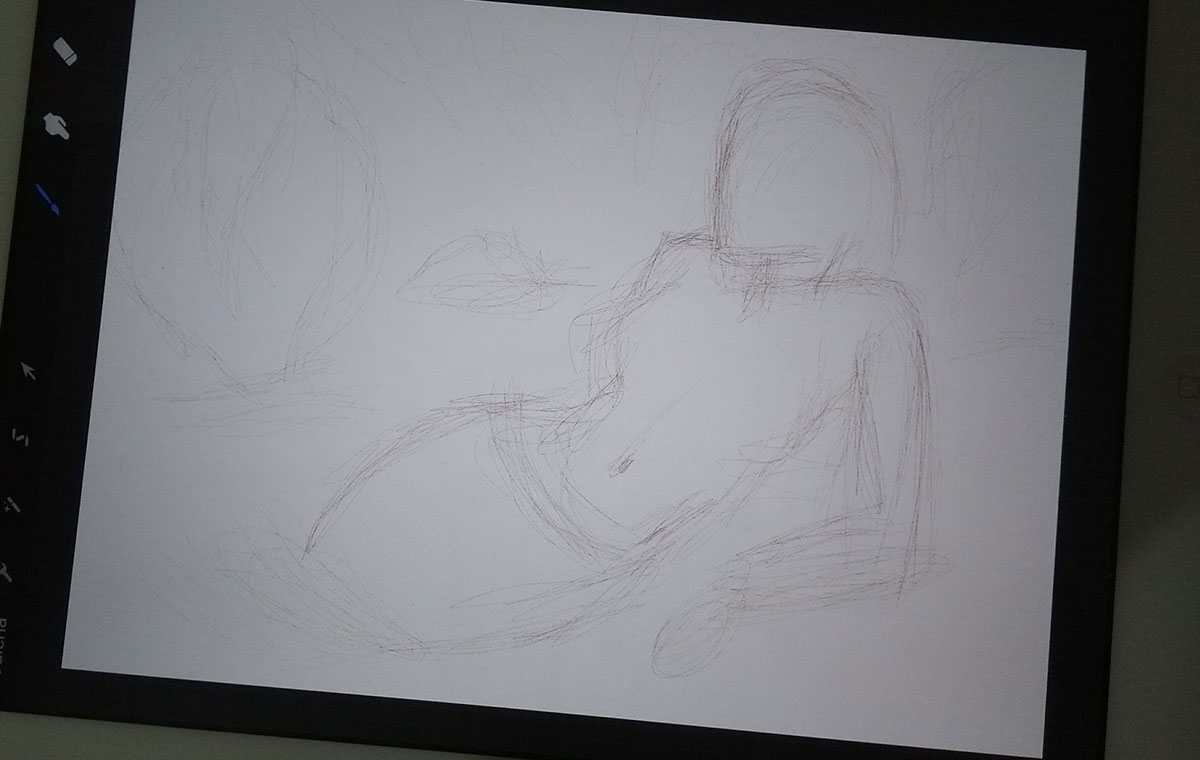
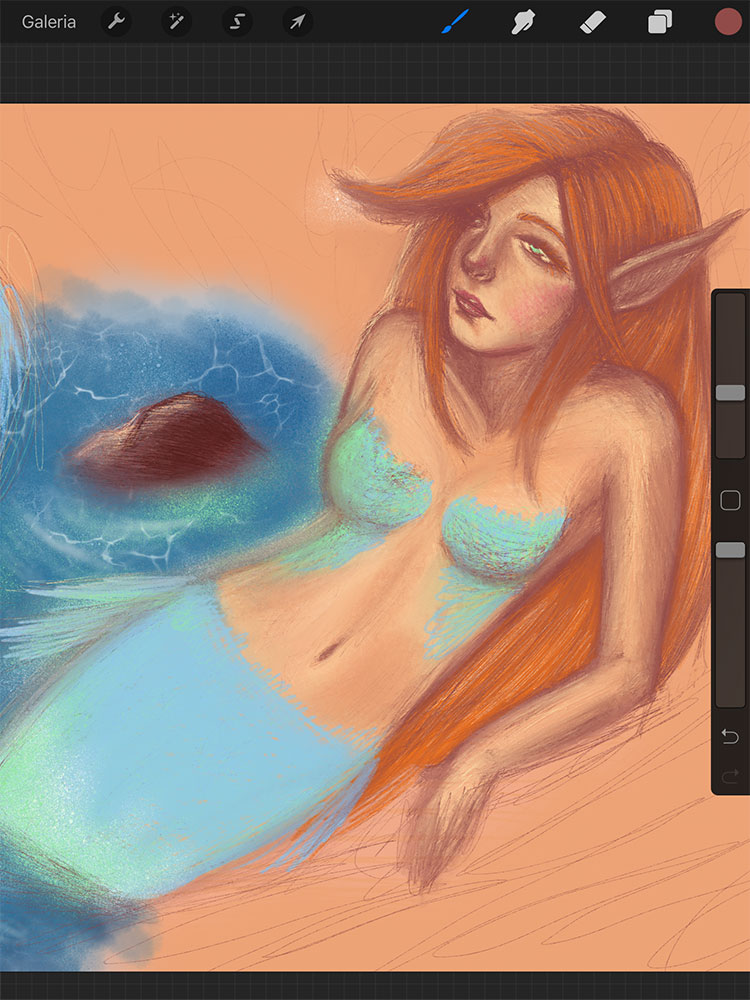
For you to see a bit of the app's interface. Very simple and interactive. The tools on the right side are, respectively: brushes, smudge (which is a wonderful tool for blending your paintings, I'll show you more soon), eraser, layers, color (where you can choose the color, create palettes, etc.). The bottom bar is for adjusting the brush size, the square in the middle is for using the dropper tool and the other bar for adjusting opacity.
The ones you see on the left side: Gallery (to return to the saved art screen), options... and there are others that I haven't tested yet, but the arrow is for selecting the art, adjusting the size. Mega useful, especially if you want to align your art to the center or wherever you see fit.
You can do a lot of things in Procreate: you can make time-lapse videos of drawings, purchase/create new brushes, create color palettes, layers... in fact, the available amount of layers you can use depends a lot on the size and number of DPIs you choose for your art. Still, just the fact that I can choose how many DPIs I want to export my art to is great. Most apps generally save at 72 dpi (as is the case with my other favorite app, Bamboo Paper) and aren't very good if you're going to print the art. The minimum and ideal is 300 dpi, for example.
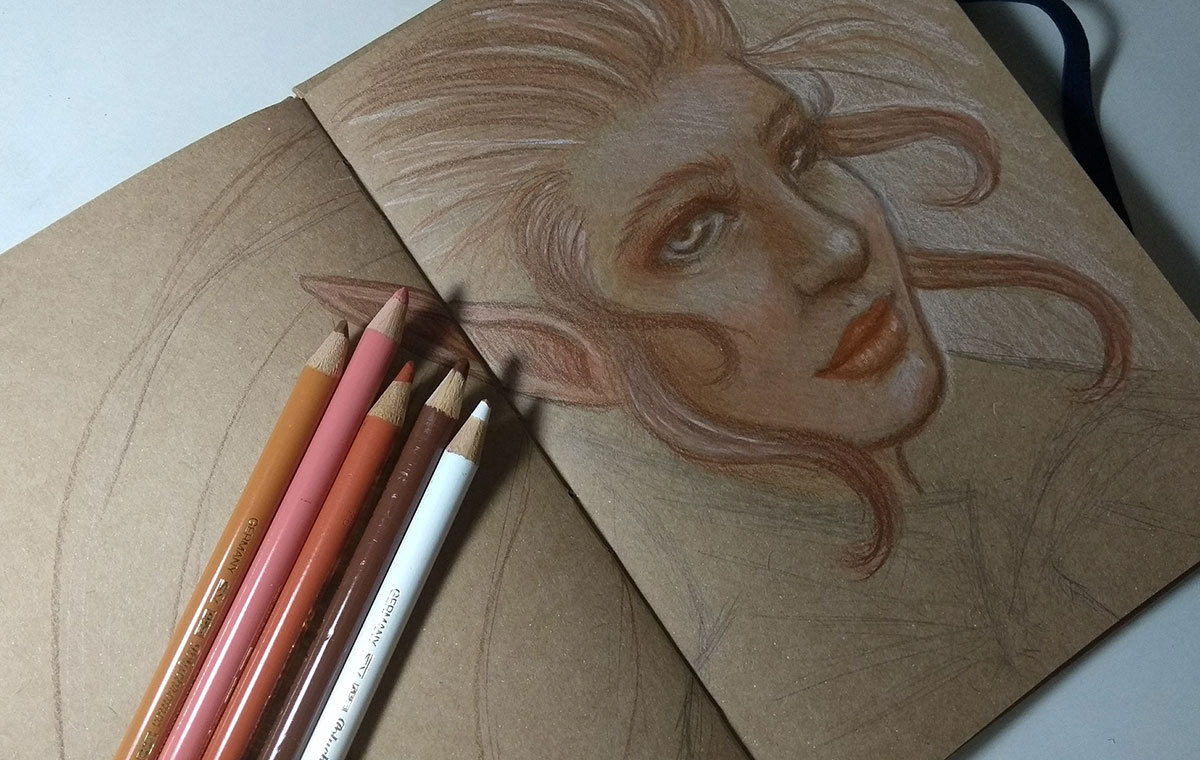
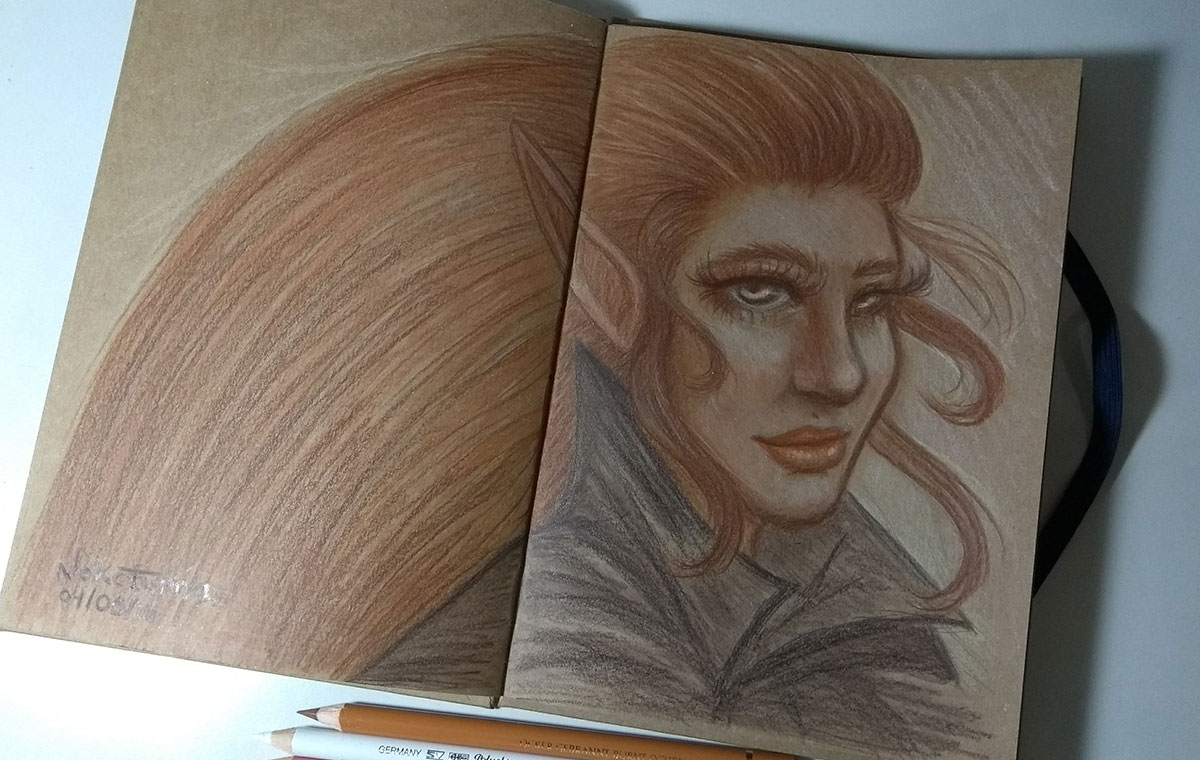

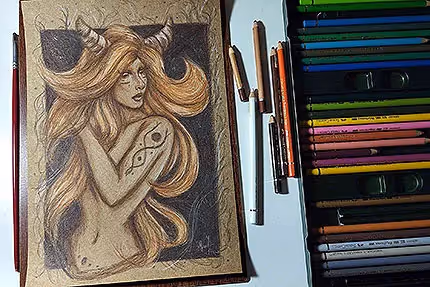
In fact, pausing to comment on a Staedtler sharpener that I bought this week. Very, very good. If you're like me, not a big fan of using stilettos to sharpen your pencils, this is a great alternative. I started having some problems sharpening my Polychromos pencils, because they were a little thicker than regular pencils - almost nothing, but my regular sharpener didn't point properly... or maybe I was already so old that I couldn't handle being held up anymore, haha. One way or another, some pencils I had trouble pointing with, so I decided to buy this one and it was very worthwhile. I paid R$ 24.97 per Artist's House. In addition to the standard size (8.2 mm diameter), it is also suitable for pencils with a diameter of 10.2 mm. It has a lid to protect and a tank too.
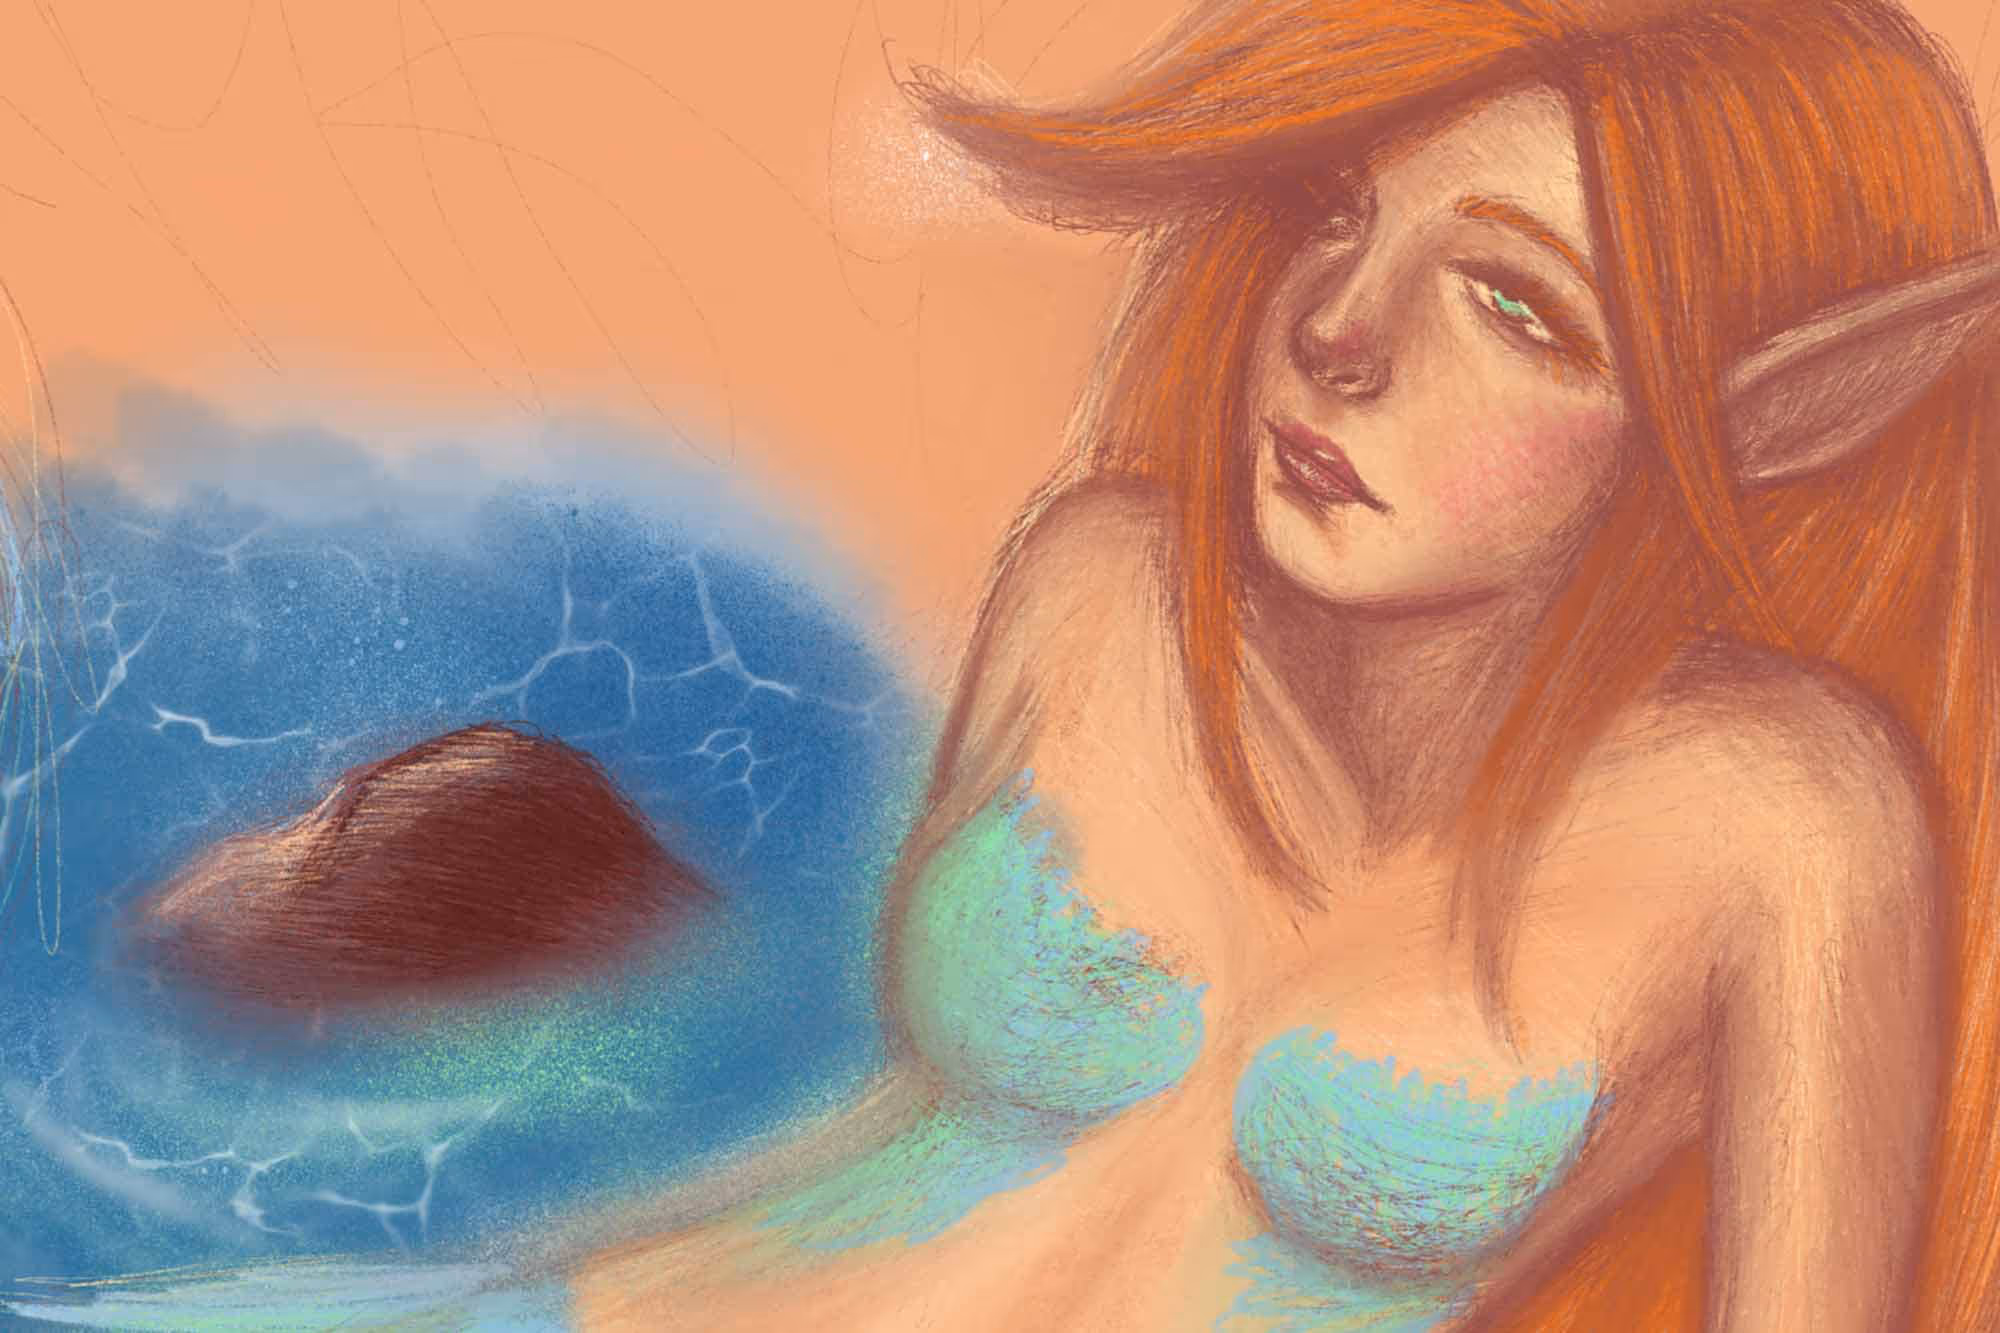
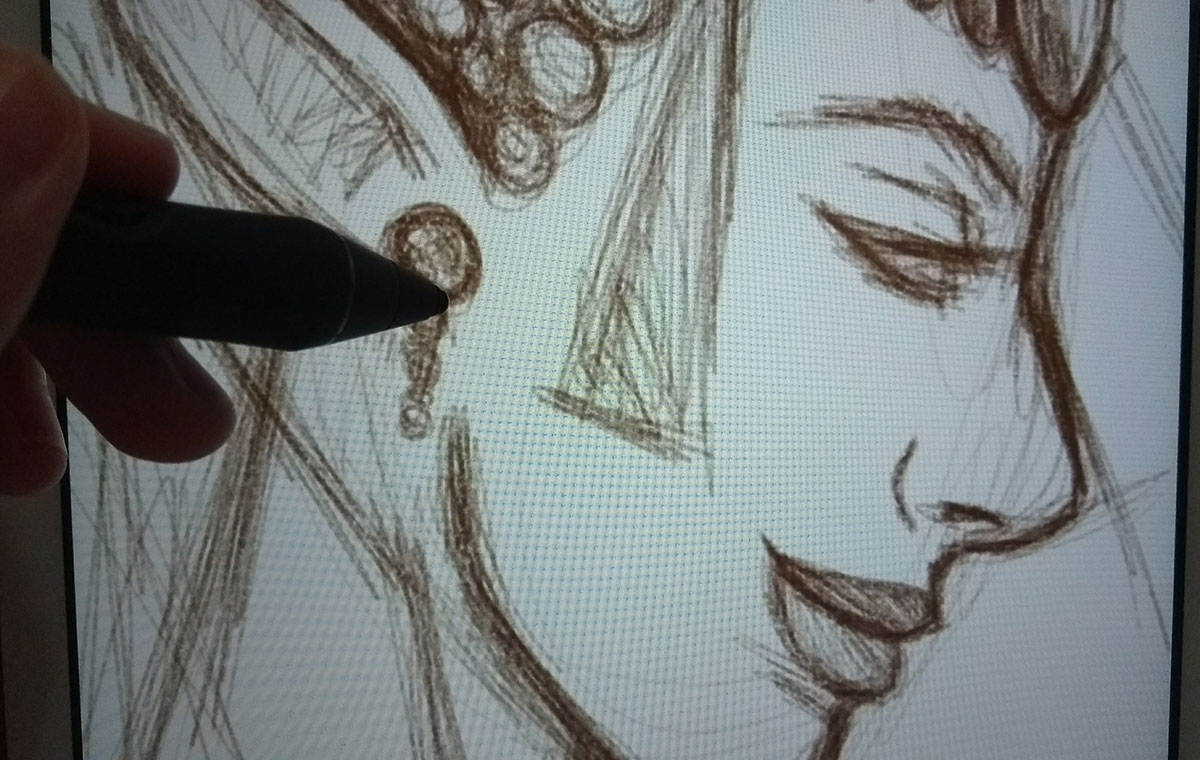
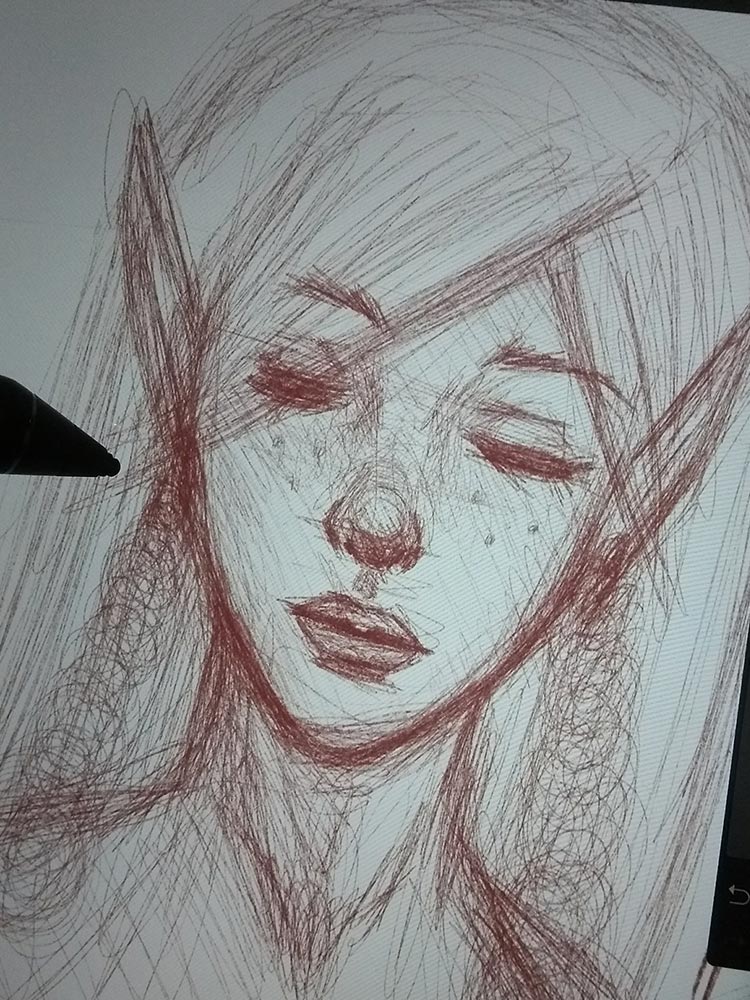
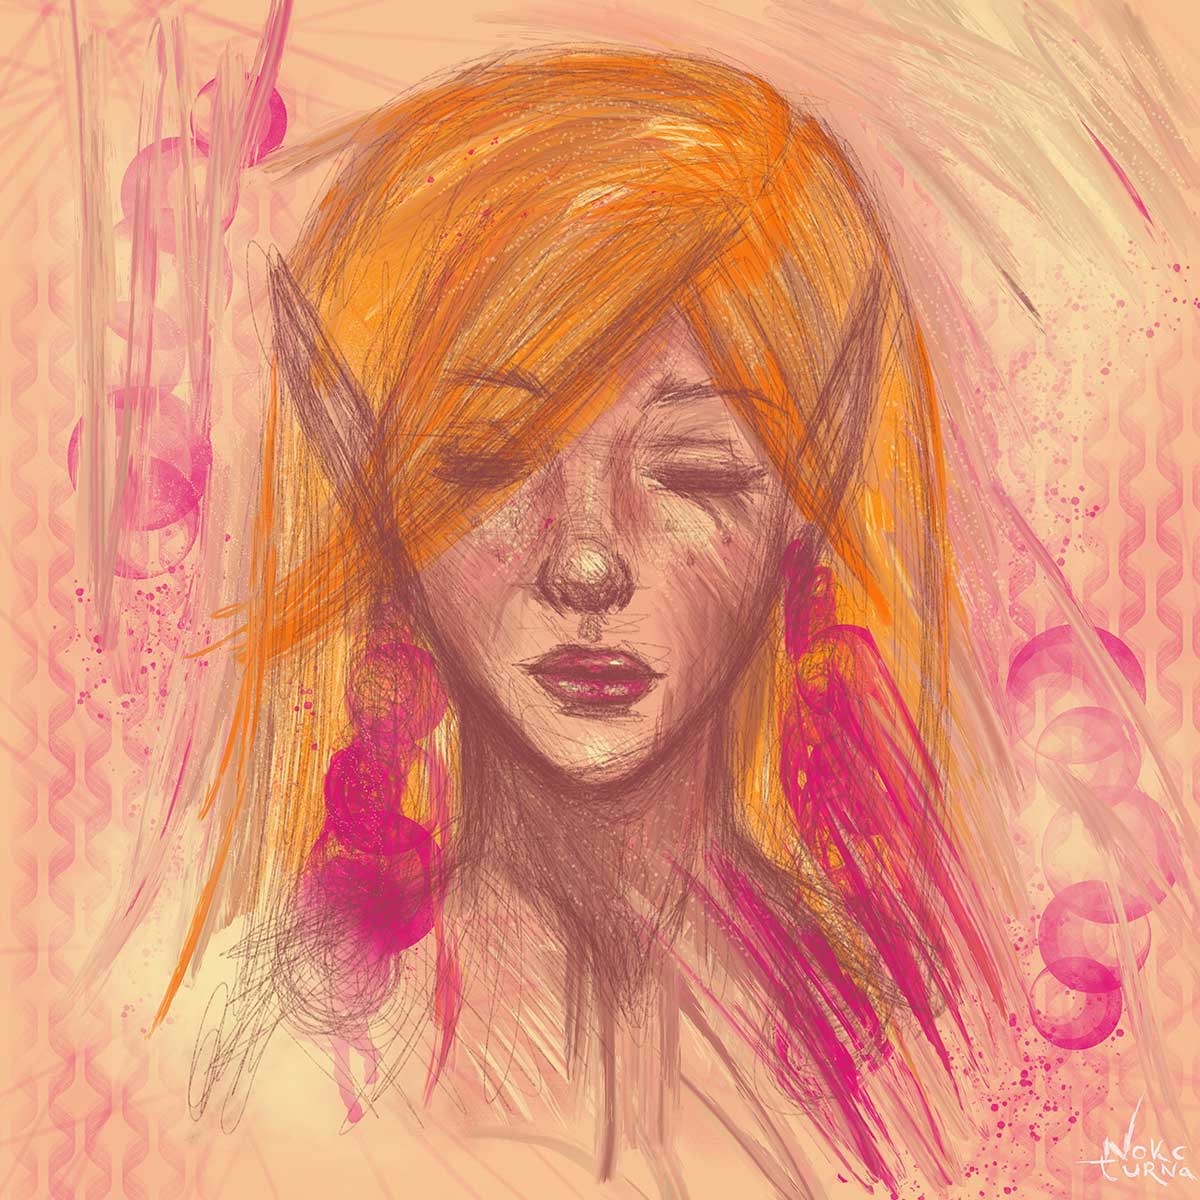
Remember that since I returned to doing digital art I have been trying to create everything directly in the app to train. In the past I used to do the sketch in my hand and then trace/adjust/paint in the program... today I want to try to do everything directly to make it easier and learn more, of course.
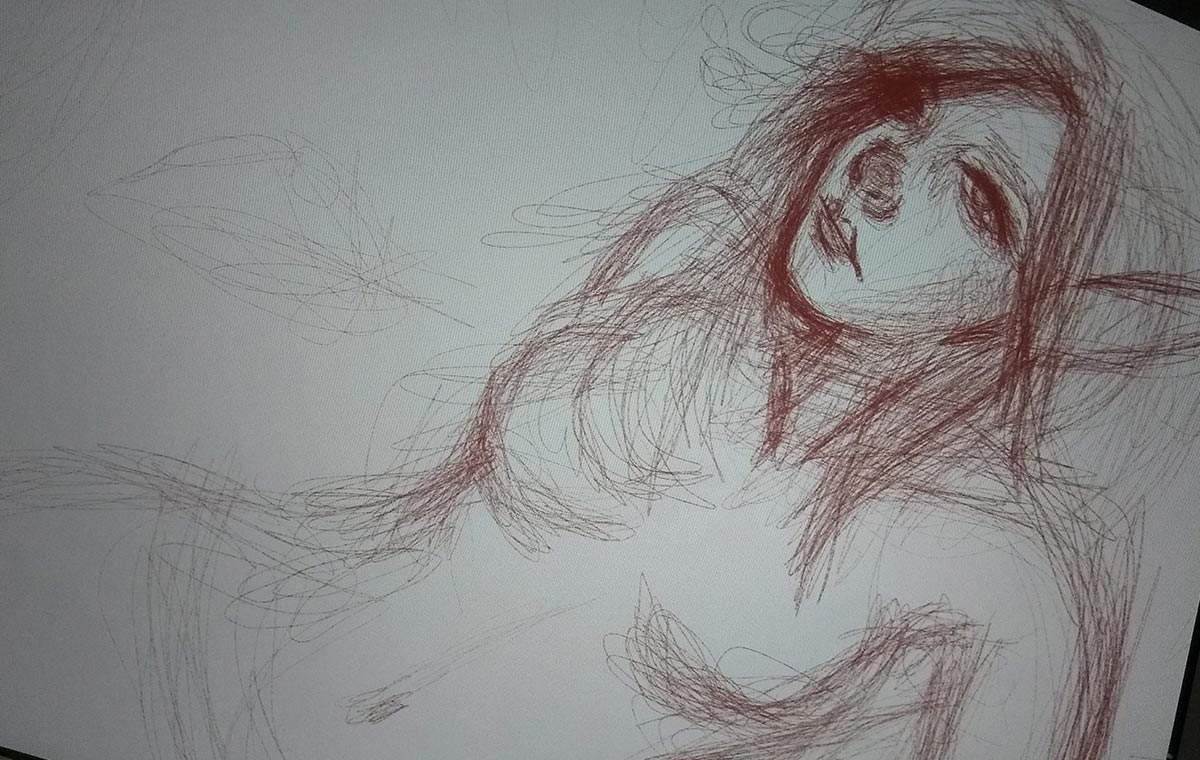
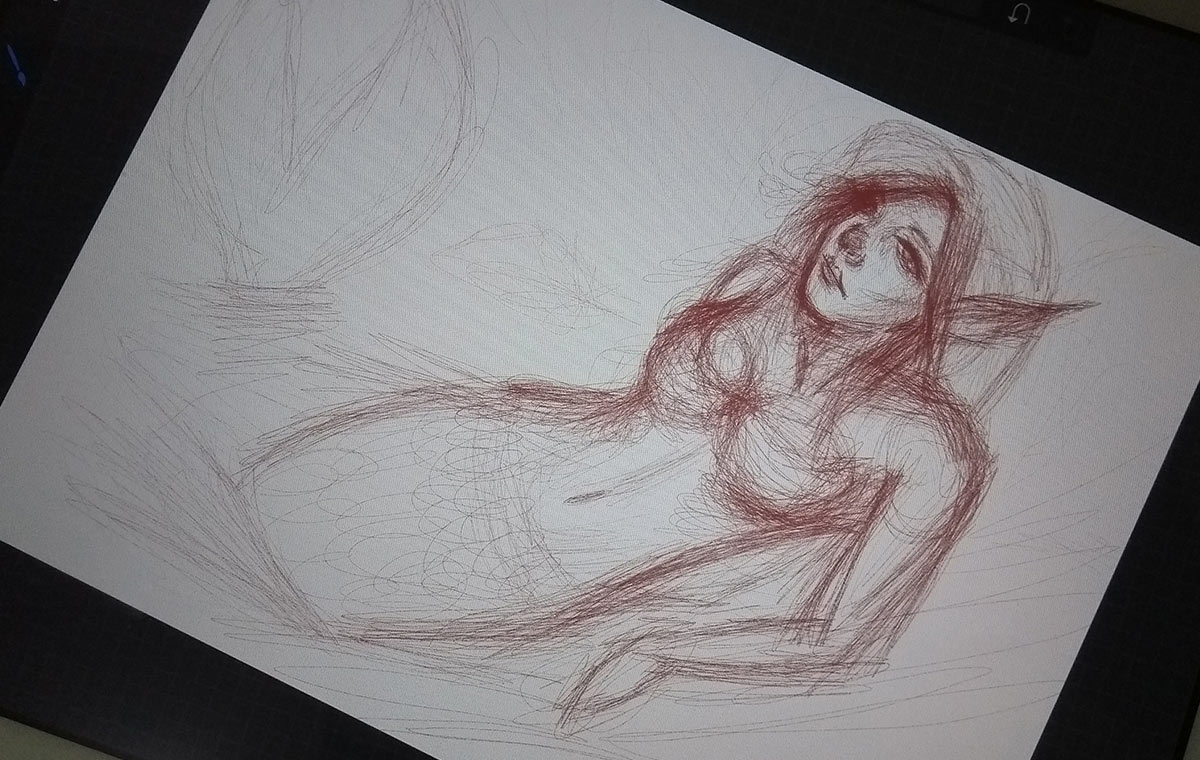
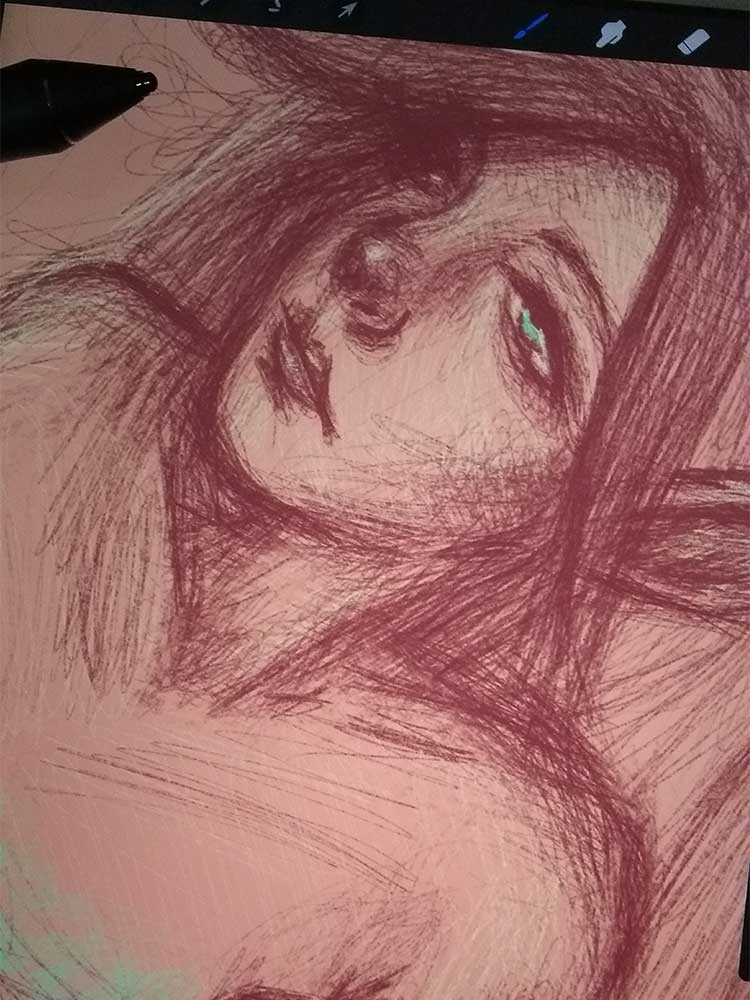

I leave you with a time-lapse video of this mermaid for you to watch the process. Yes, time-lapse created by Procreate <3
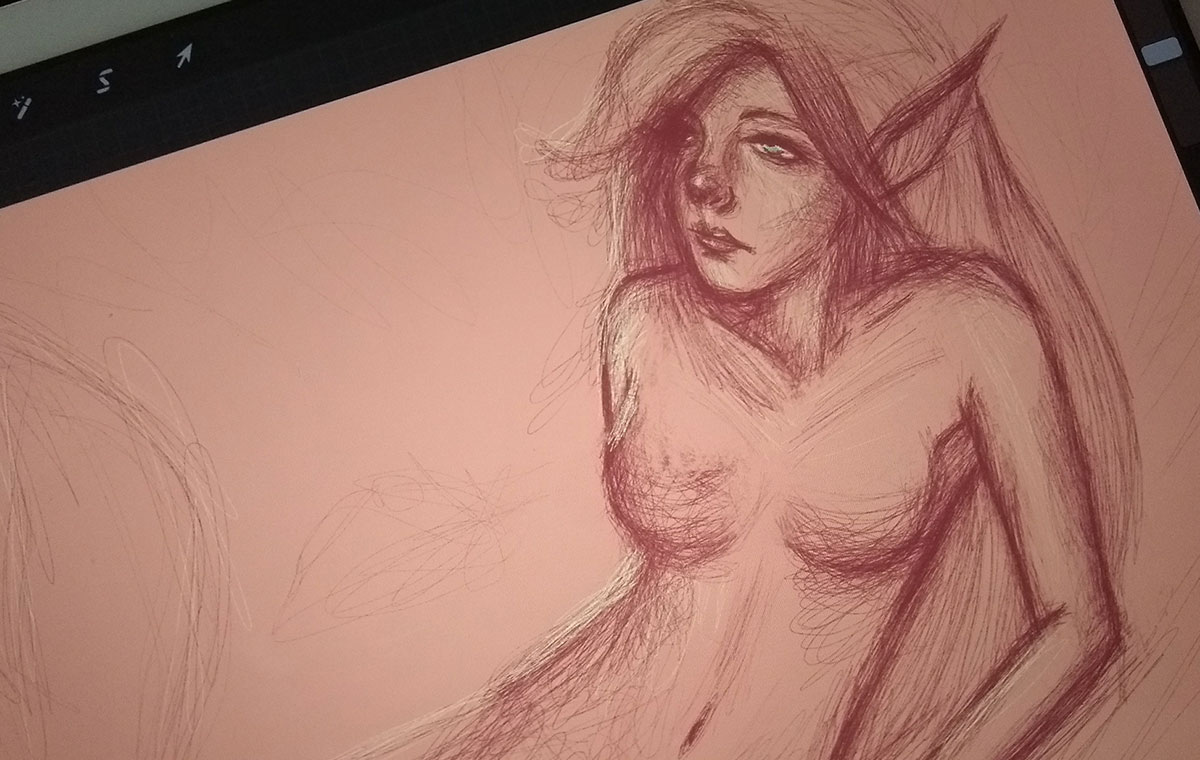
And that's it for today, guys! As I said above, I'm still testing the tools and that's why it's not ready. A lot is still missing, hehe, but it's been great for training and exploring. And I definitely highly recommend Procreate. It's, without a doubt, one of the best drawing apps I've ever used. In fact, the price of the app is R$ 32.90 ($9.99) and it's worth every penny! :)
There will be more next week! I think I should finish this mermaid by next Sunday, yes, see;)