Sep 23, 2018

I wanted to take advantage of today's post to reinforce some basic concepts and also to show a little more about Procreate tools. I'm even going to start differently: with the time-lapse video of the cartoon that I'm going to explain to you to see the entire process first and then I'll give you some tips about it :)
As I always say here, there's no use drawing anything if you don't take the opportunity to learn something while drawing, especially if you're looking to work in this field. That's why I love to include certain details and things that I've never drawn — or that I know I need to study more deeply — along with what I'm already used to and/or like to draw.
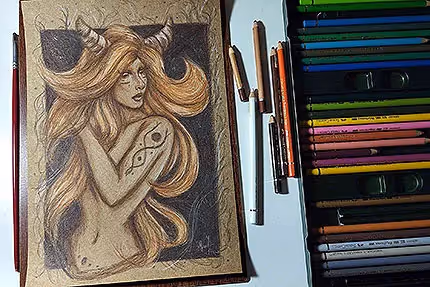
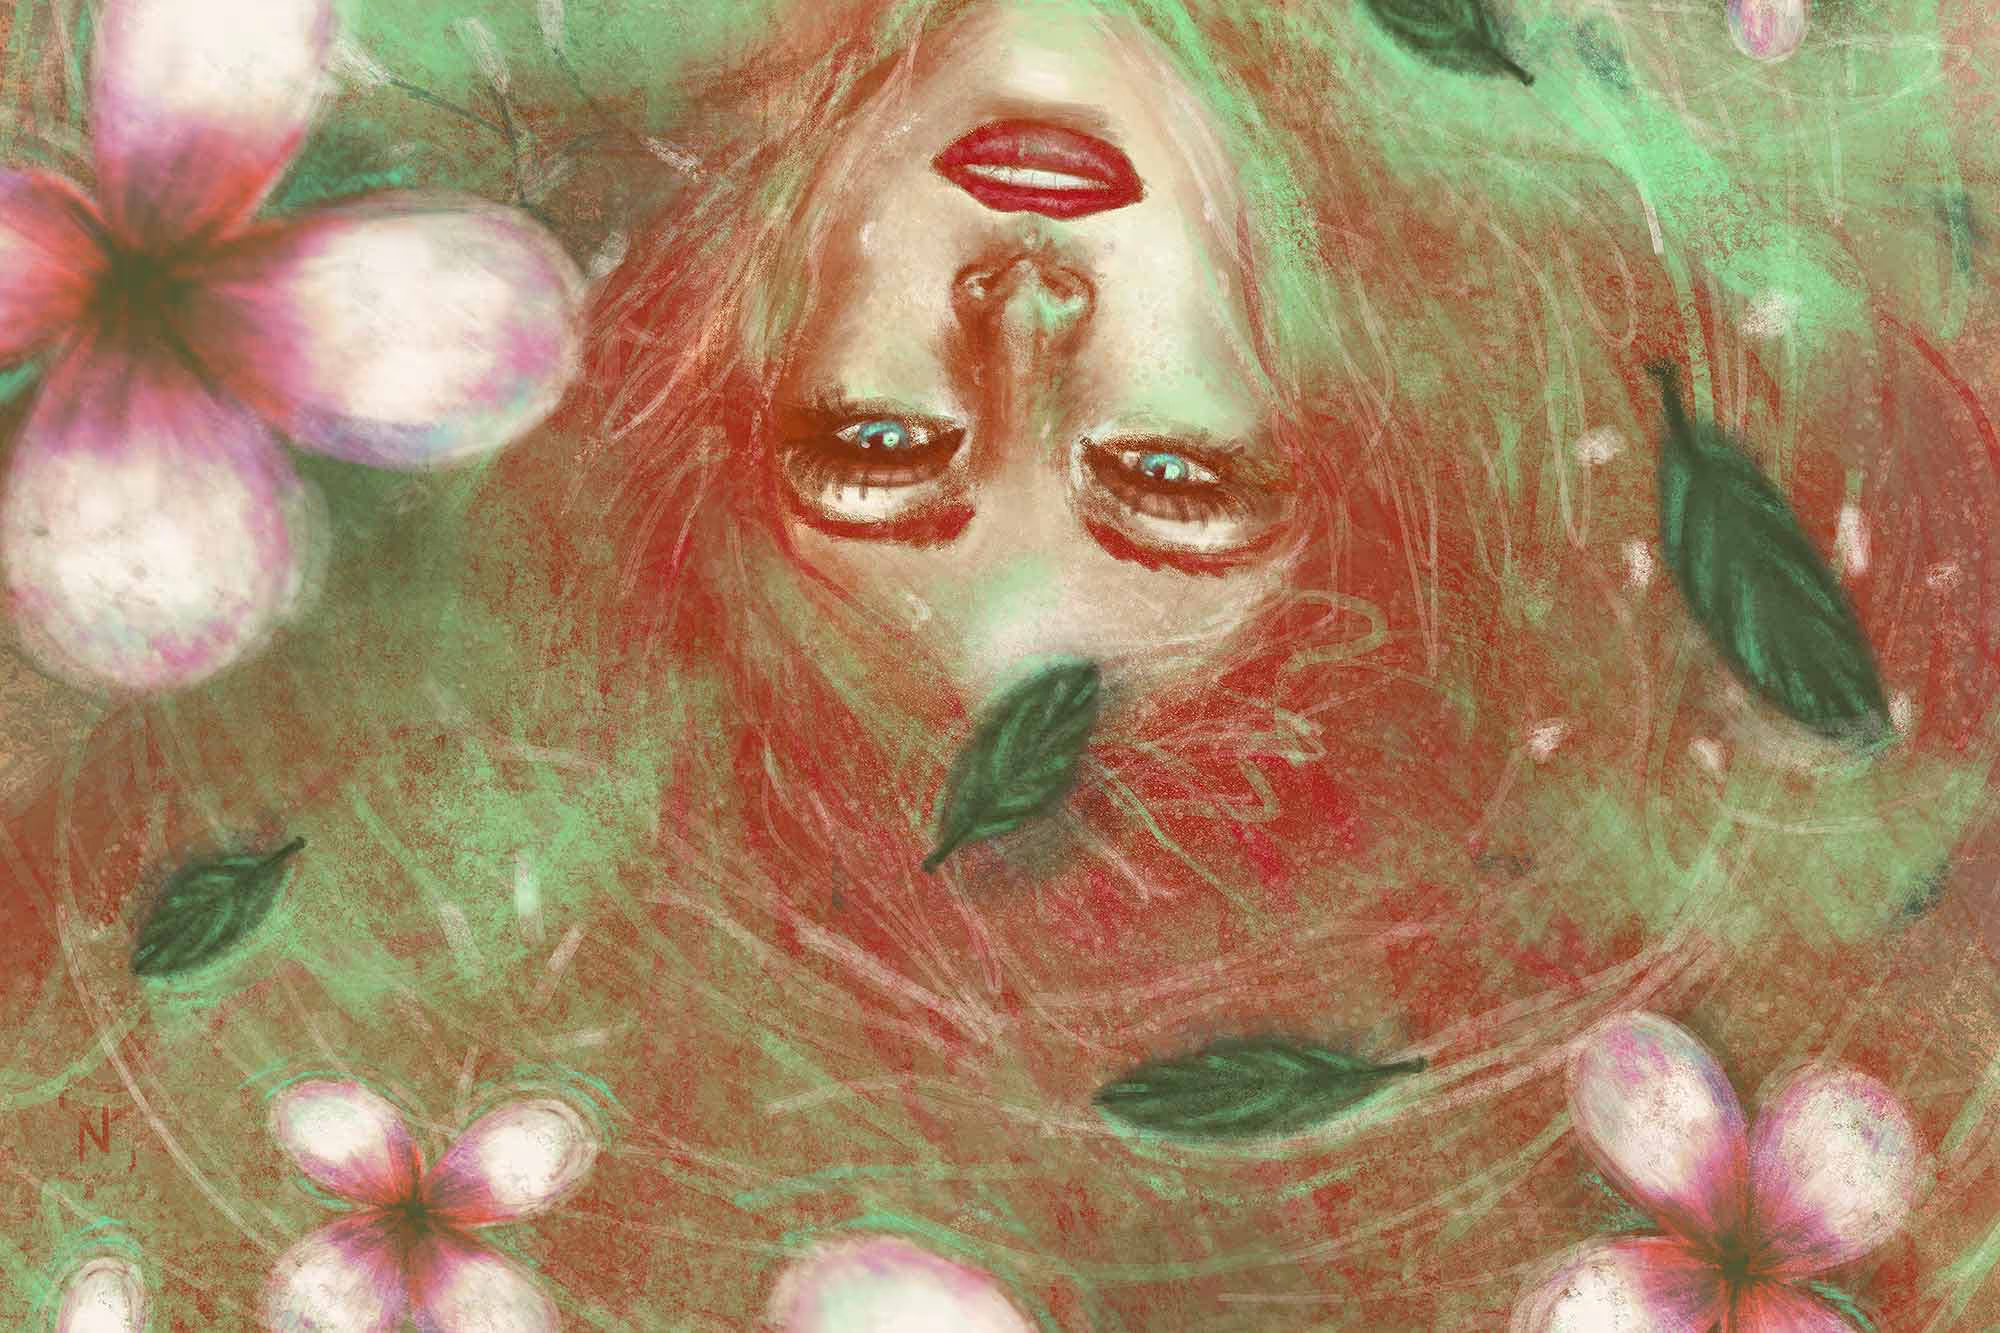
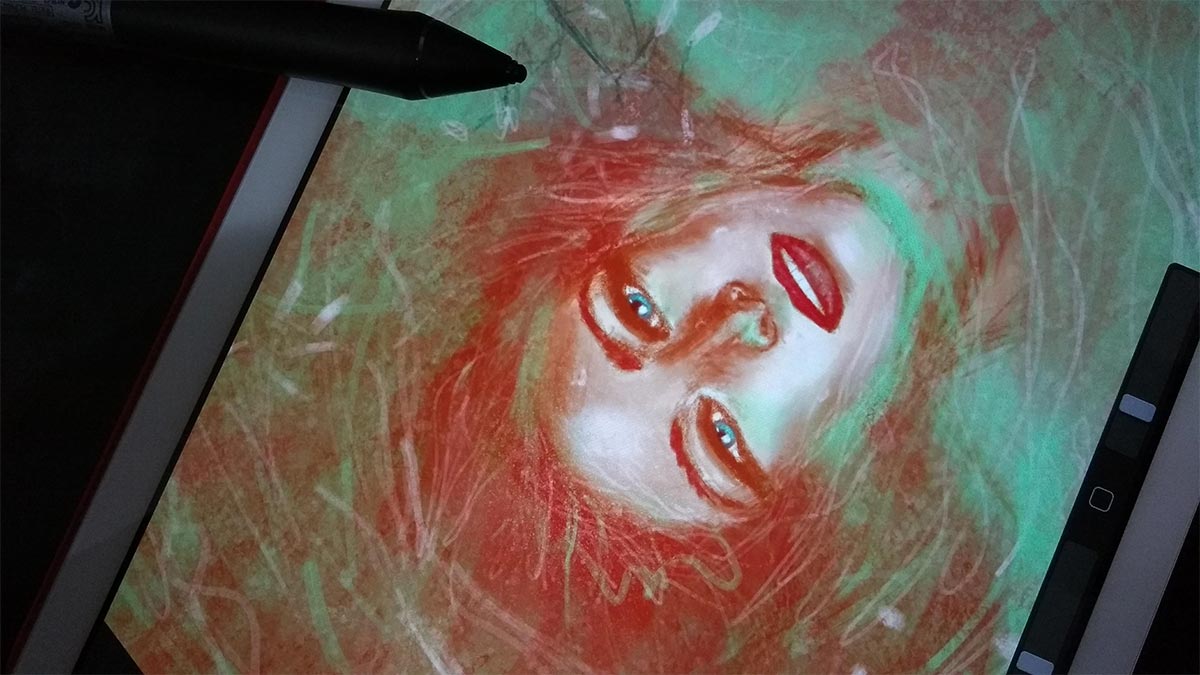
I always found people and elements in the water (or floating in the water) interesting. I don't usually draw that kind of thing a lot, so this week I decided to take the opportunity to study a little. You will see that I didn't detail her body much, because the idea is that she should be submerged in water and only her face appears better.
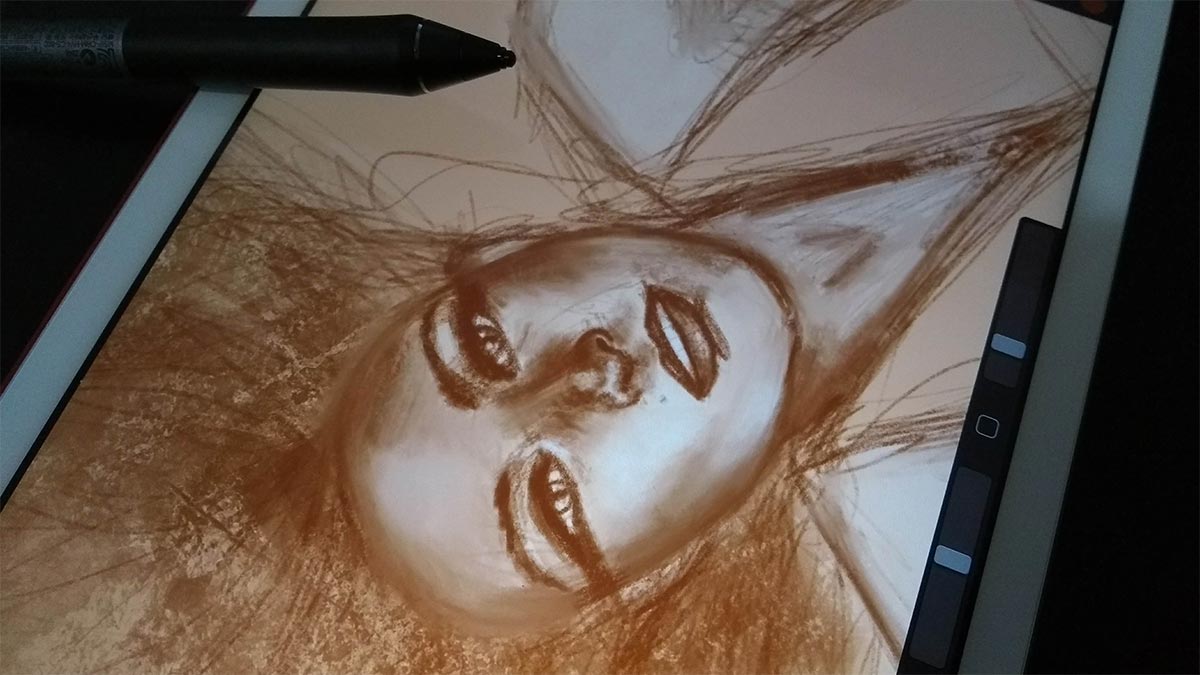
I'll start with a very messy sketch even using a pencil brush, haha. When I see that I've already left the lights and shadows at a cool starting point, I merge them using the blur tool. NOTE: that is why it is important to study and delve into light/shadow. It's pretty much the basis of everything. I spent my first full year studying just that and it was very worthwhile.
After I blend my initial lines, I use the texture brush to reinforce the light and shadow that I had previously worked on, in addition to adding other details. I really like to already work with color and do the initial drawing in shades of brown. As a matter of habit, but depending on the drawing, I like to explore other means, such as doing everything in shades of gray and painting on top... but I really like to work directly on the color, I don't deny it, hahaha. I think that because I have trained so much traditional art, I feel freer and enjoy more, I don't know.
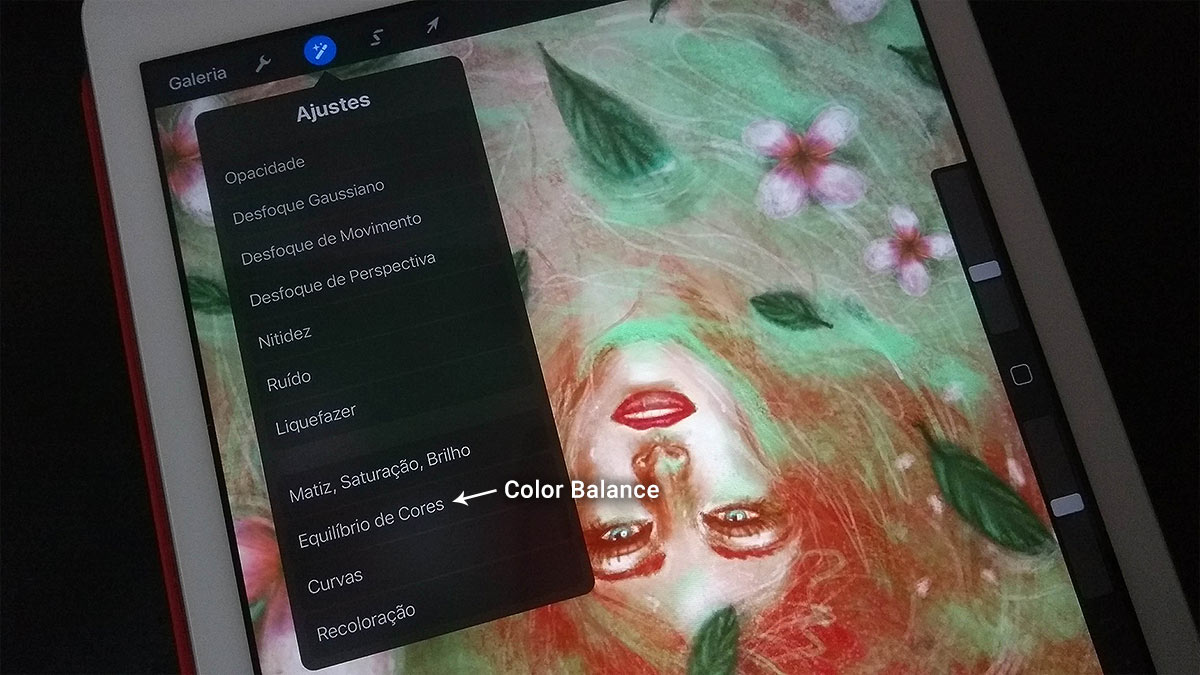
I also love using the Color Balance tool after I paint some elements in the drawing. I do this on some drawings, not all, but it's cool to really bring a balance of tones to the overall painting. This tool is really worth playing with:)
Use and abuse layers. Depending on the art size you choose, Procreate regulates the amount of layers available for your art, so stay tuned. In my case, in the drawings I make, my limit is 4 layers. For me, it's already a good size, not least because if I want to try something different, I can use one of my extra layers and, if it's cool, I'll merge them together, so I'll always have layers free to do other tests.
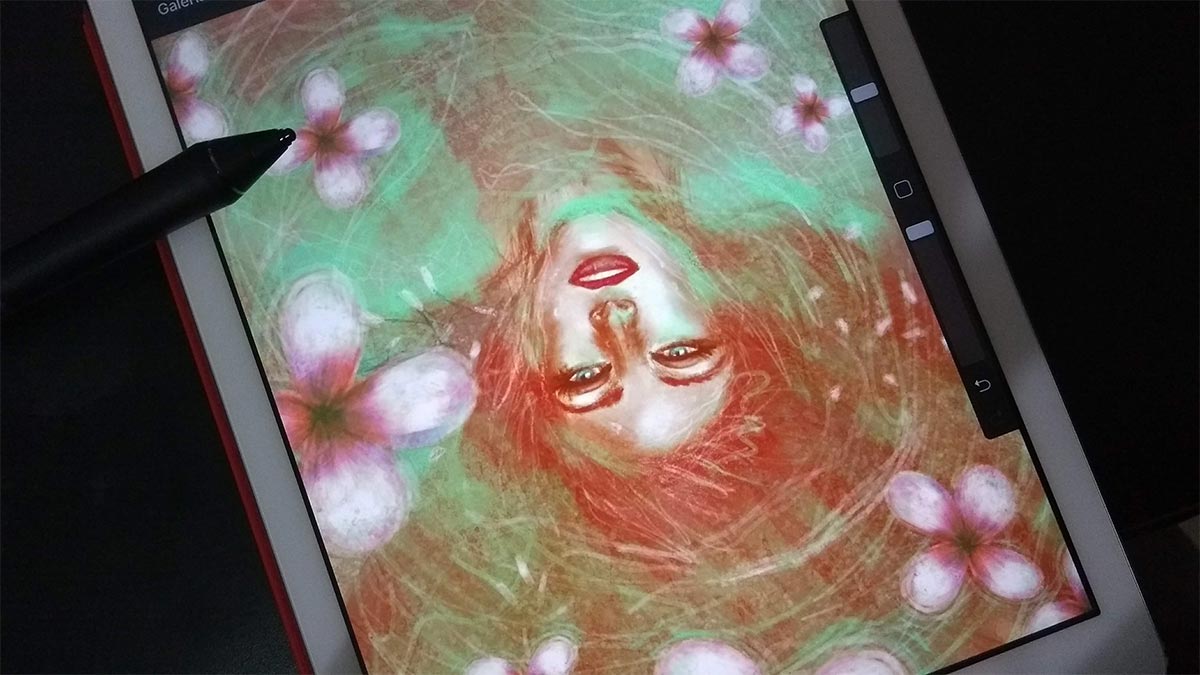
I tested the tools for cutting and selecting a lot in this drawing. For example, in the case of flowers... I made just one, cut it (the tool is the S in the top bar) and, with the tool still selected, I click on “duplicate content” (it is in the bottom bar that appears when the tool is still selected). It creates a new layer with the area you copied (so it's important to manage your layers well when using this tool).

With the selection tool (the one with the arrow icon) and with this new layer selected, you can change the position of the element however you want, rotate, distort, etc. I highly recommend playing with this tool to fill your illustrations.
This is even one of the advantages of digital art: making your work easier and faster.
I did the same with some of the sheets too, although I wanted to draw some variations so everything wouldn't be too the same;)

I highly recommend that you check out the Procreate channel on YouTube and their Official site of them to learn more about the app. Oh, and follow them on Instagram too! Every Tuesday, they even post mini tutorials giving tips on the tools in the Stories! It's really worth staying tuned in :)
For me, Procreate is, without a doubt, one of the best drawing apps on the iPad. Definitely amust-have <3
NOTE: I'm thinking of creating some video tutorials in the future to teach how to use the app's tools, what do you think? :)
I hope you enjoyed today's post! o/